
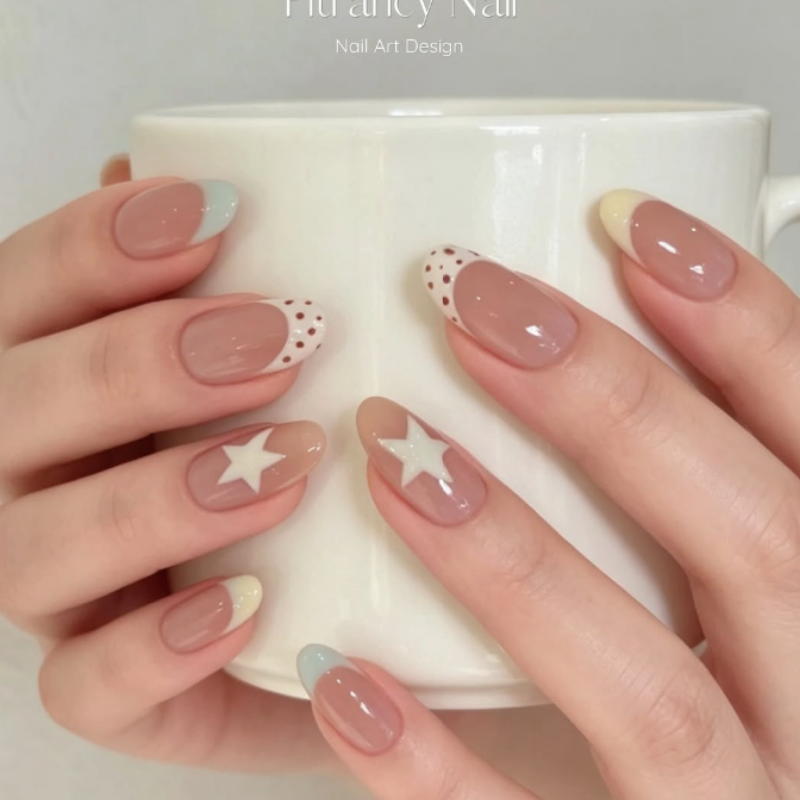
Trying to achieve a perfectly precise manicure at home or in a busy salon can be frustrating—smudges, uneven lines, and messy edges often ruin the look. This is where tape for nail art becomes a game-changer. Whether you’re a professional nail artist or an enthusiast, this simple tool helps you master intricate designs with ease and accuracy. From sharp geometric patterns to delicate stripes, tape for nail art opens the door to endless creative possibilities while saving time and effort.
In this article, we dive into how you can use different types of nail art tape, tips for application, and the best design ideas to elevate your manicure. Pair it with gel or acrylic enhancements for a long-lasting finish that wows. Let’s explore how this small accessory makes a big impact on your nails.
In this article:
- Types of Tape for Nail Art: Choosing the Right Style for Your Design
- How to Use Tape for Nail Art Like a Pro
- Creative Nail Art Designs Using Tape for Nail Art
- Tips to Avoid Common Mistakes When Using Nail Art Tape
- Where to Buy the Best Tape for Nail Art and Accessories
Types of Tape for Nail Art: Choosing the Right Style for Your Design
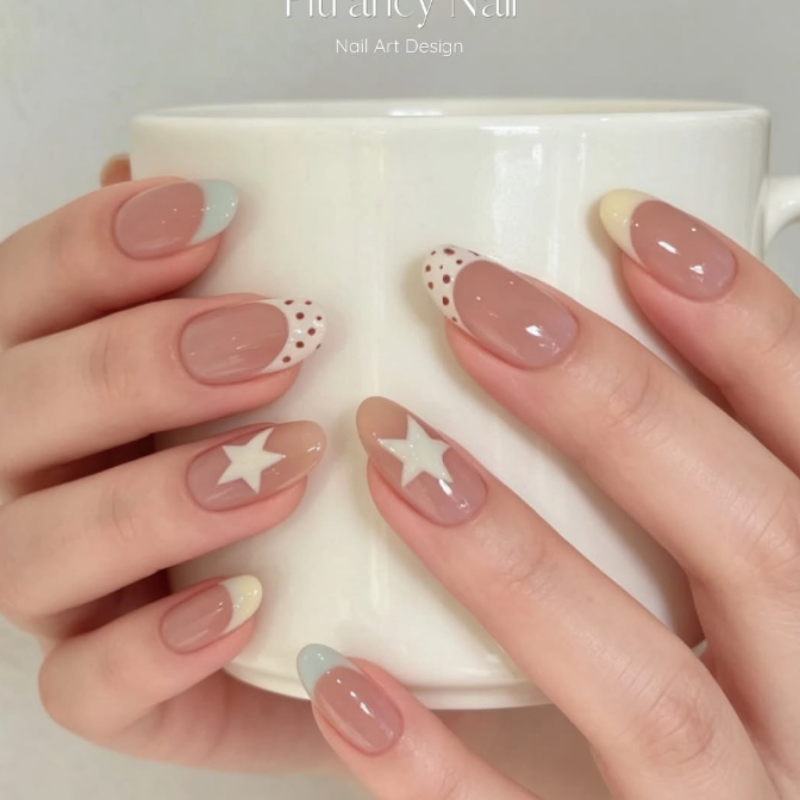
Not all nail art tapes are created equal, and selecting the right one is key to achieving your desired look. Striping tape is the most common option—thin, metallic lines available in gold, silver, or vibrant colors, perfect for sleek stripes and borders. For bolder designs, there are wider adhesive tapes that can cover larger nail areas, ideal for block color effects or abstract patterns.
For delicate details, thin clear tape can be cut into custom shapes, offering versatile options beyond standard strips. Some tapes come pre-printed with patterns or textures, enabling quick application without complex steps. Knowing which tape to use will streamline your process, whether you’re creating simple stripes or intricate layered designs.
Additionally, the tape’s adhesive strength matters. Too strong, and it might peel off your base polish; too weak, and it won’t hold during painting. Choosing quality nail art tape designed specifically for manicures is essential to avoid damage and ensure a smooth finish.
How to Use Tape for Nail Art Like a Pro
Mastering nail art tape application is easier than you might think, but a few professional tips make all the difference. Start by applying a base coat and your chosen polish color, then let it dry completely. Patience here prevents smudging when layering tape. Use tweezers to place thin strips of tape precisely where you want your design to appear.
Once the tape is firmly in place, paint over it with a contrasting polish color or glitter. Remove the tape gently while the polish is still wet to preserve clean, sharp lines. Seal your work with a topcoat to protect the design and add shine. Practicing on a nail wheel or a disposable surface can help perfect your technique before applying it on your nails.
For more advanced looks, layering multiple tapes in different colors and directions creates depth and texture. If you love experimenting, you might appreciate combining tape with other techniques like 3d Nail Art Gel for a truly standout manicure.
Creative Nail Art Designs Using Tape for Nail Art
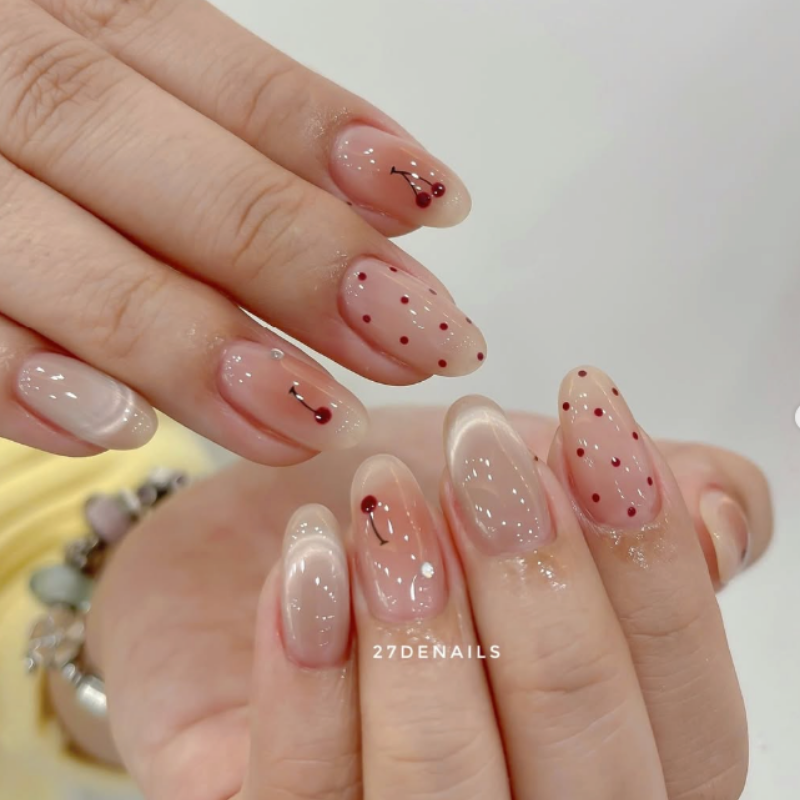
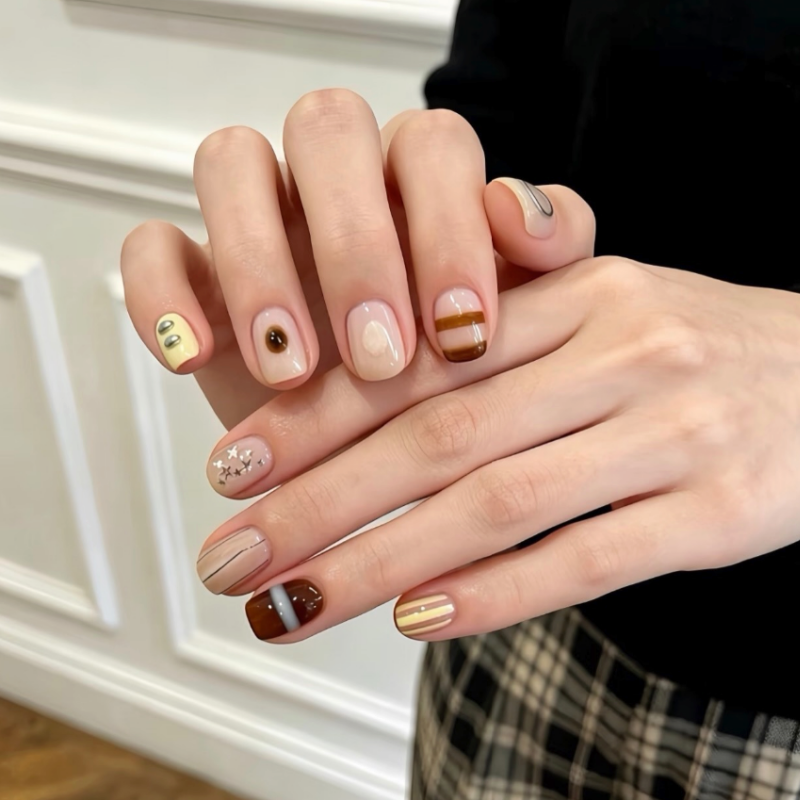
Tape for nail art inspires countless design ideas, from minimalist chic to bold statement nails. Classic striping patterns create a modern and clean look that pairs well with any outfit or occasion. Alternatively, geometric shapes formed by intersecting tape strips add a contemporary edge to your manicure.
For seasonal inspiration, try incorporating metallic or holographic tape during the holidays or bright colors for summer vibes. Combining tape with other decorative elements such as water decals or stickers can elevate your style even further. For example, pairing tape designs with water decal nail art creates effortless, stunning nails without hours of work.
Whether you’re aiming for subtle accents or full nail art statements, tape allows precise and repeatable designs that impress. Experimenting with negative space and layered tape designs offers fresh ways to express your personal style.
Tips to Avoid Common Mistakes When Using Nail Art Tape
Even with tape for nail art, small missteps can ruin your final look. One common mistake is removing tape too late, which causes smudges as polish dries. Always peel the tape off while the polish is still wet to keep lines crisp and clean. Another issue is applying tape on polish that isn’t fully dry, leading to peeling or uneven edges.
Using low-quality tape or household tape instead of nail-specific striping tape can result in sticking to your base coat or pulling up layers. Invest in high-quality nail art tape designed for manicures to avoid this. Moreover, applying too much pressure when placing tape can cause dents in base polish, so handle tape gently for the best results.
Lastly, always finish with a good topcoat to seal in your design and extend wear time. For more polish-related advice, check out our guide on best nail art products for stunning manicures to complement your tape work.
Where to Buy the Best Tape for Nail Art and Accessories
Finding quality tape for nail art is crucial for flawless designs. Beauty supply stores and online retailers offer a wide selection ranging from basic striping tape to decorative options with textures and colors. Brands specializing in nail art often provide tapes specifically formulated to work well with polish and gels.
Many professionals prefer purchasing tape in bulk or sets with multiple widths and finishes to cover all design needs. It’s also worth investing in complementary tools like precision scissors, tweezers, and a nail art brush set to enhance your workflow.
For those interested in expanding their toolkit, explore our detailed reviews on best nail brushes for nail art and best nail art supplies to create professional-quality manicures at home or in the salon.
Frequently Asked Questions
What is the best type of tape to use for nail art?
The best tape for nail art is thin, flexible striping tape designed specifically for nail use. It adheres well without damaging the base polish and allows for precise application. Metallic or colored striping tapes are popular for adding shine and contrast, while wider adhesive tapes work for block or abstract designs.
How do I prevent smudging when using tape for nail art?
To avoid smudging, always wait for your base coat to dry completely before applying tape. After painting over the tape with your second color, remove the tape gently while the polish is still wet. This ensures crisp lines and prevents the polish from drying unevenly or peeling.
Can tape for nail art be used with gel polish?
Yes, tape for nail art works well with gel polish. Apply the tape after curing the base gel layer, then paint over with additional gel colors. Remove the tape before curing the top layer. This method creates clean designs that last longer thanks to gel’s durability.
How long does nail art tape typically last on nails?
When applied correctly and sealed with a quality topcoat, nail art tape designs can last up to one to two weeks, especially with gel manicures. However, daily activities and nail growth will eventually cause wear, so touch-ups might be needed for prolonged wear.
Is it better to use nail art tape at home or in a salon?
Tape for nail art is versatile and suitable for both home use and professional salons. At home, it enables DIY enthusiasts to achieve salon-quality designs with minimal tools. In salons, it helps nail technicians save time while delivering precise, creative manicures to clients.
Tape for nail art is an essential tool that elevates your manicure with clean, precise designs that impress every time. Whether you’re crafting simple stripes or intricate patterns, incorporating tape into your nail art routine unlocks endless creativity while saving effort. Explore different types of tape, master application techniques, and pair them with complementary products to create stunning nails that last.
Ready to upgrade your manicure game? Start experimenting with tape for nail art today and discover how a small addition can make a big difference in your nail styling.