
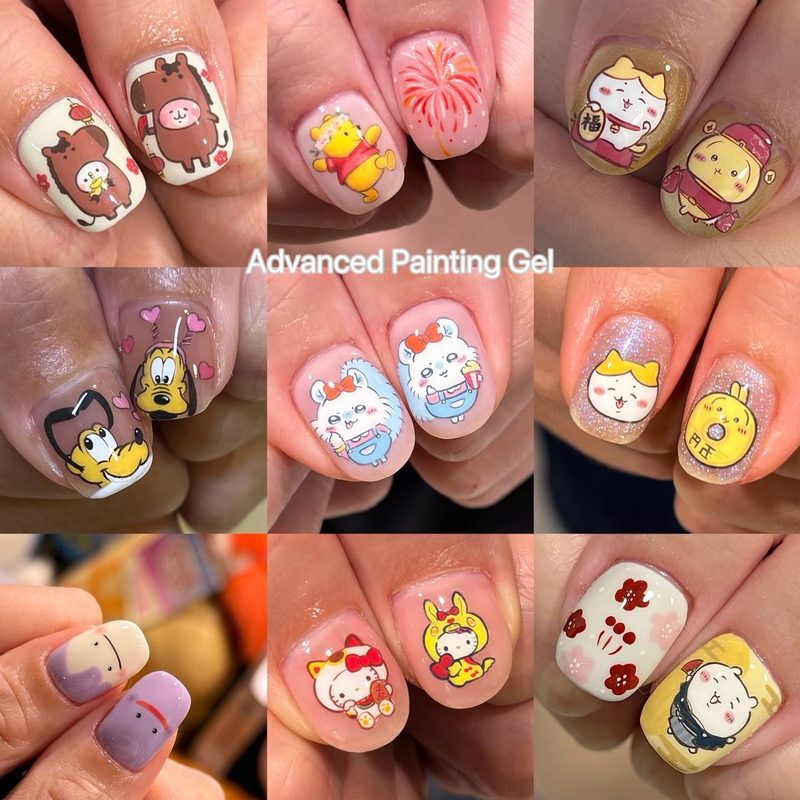
Anyone who’s ever struggled with chipped polish or dull nails knows the frustration of a manicure that just won’t last. Enter nail art painting gel—a game-changer in the beauty world that offers vibrant colors and long-lasting designs. Whether you’re a nail salon pro or a DIY enthusiast, mastering nail art painting gel can transform your manicure routine, delivering salon-quality results at home or in the studio. This article explores everything you need to know about using nail art painting gel to create stunning, durable nail designs that truly stand out.
In this article:
What Is Nail Art Painting Gel and Why Is It Popular?
Nail art painting gel is a special type of gel polish formulated for intricate designs and vibrant colors. Unlike regular polish, this gel requires curing under UV or LED light, which ensures a durable, chip-resistant finish. This quality makes it popular among professional nail artists and beauty enthusiasts alike.
Because it doesn’t dry like traditional polish but hardens under light, nail art painting gel allows for precise detailing without smudging or fading. Additionally, it offers a glossy, high-shine finish that can last for weeks, making it a favorite for anyone wanting a long-lasting manicure. The gel’s flexibility also supports various nail art techniques like layering colors, freehand painting, and even sculpting.
Its rise in popularity can also be attributed to the versatility it offers, complementing everything from minimalist designs to elaborate masterpieces. This versatility makes nail art painting gel a must-have in any beauty routine focused on creative and lasting nail art.
Essential Tools and Products for Nail Art Painting Gel
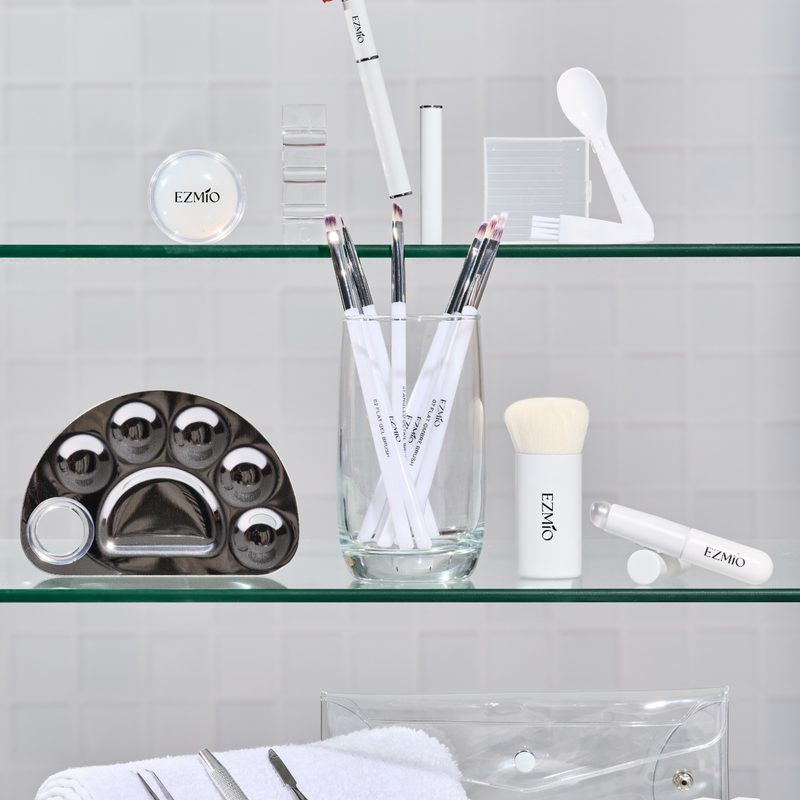
Creating flawless nail art painting gel designs requires the right tools and products. High-quality gel polish is the foundation, but brushes, curing lamps, and topcoats all play key roles. For example, thin brushes enable detailed strokes, while silicone nail art tools can help achieve precision effects.
It’s important to use a UV or LED lamp compatible with your gel products to ensure the polish cures properly. Otherwise, the gel may remain tacky or peel prematurely. Many professionals recommend investing in a lamp with adjustable timers to tailor curing times to each layer.
For added inspiration and tools, explore how silicone nail art tools can elevate your manicure precision or consider a professional nail art set to expand your creative possibilities. These resources can help you master various techniques and achieve salon-level results at home or in a studio setting.
Step-by-Step Guide to Applying Nail Art Painting Gel
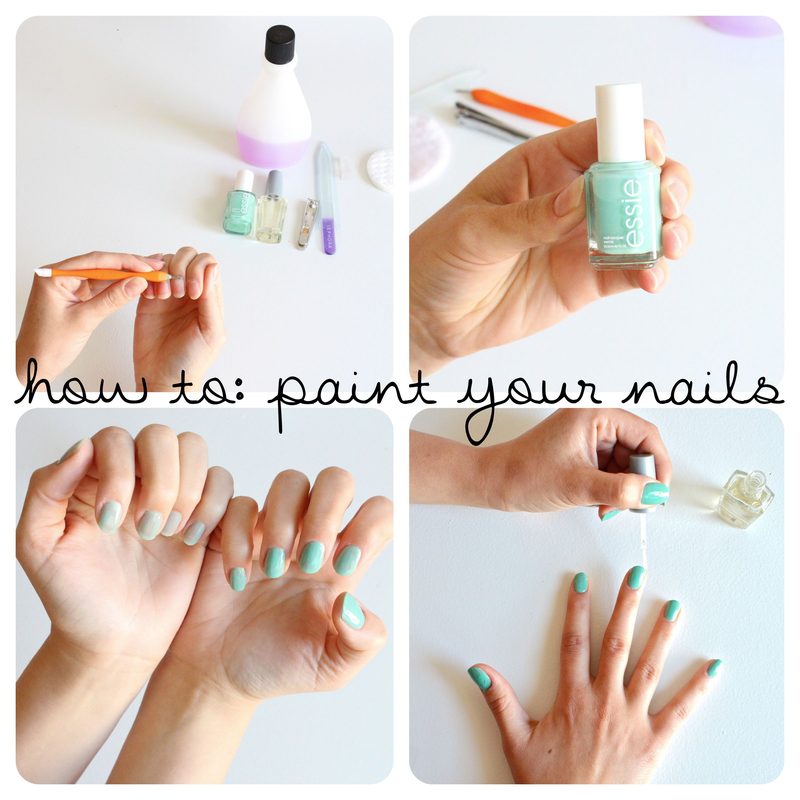
Applying nail art painting gel begins with a clean, prepped nail bed. Start by gently buffing and cleansing nails to remove oils and shine, which helps the gel adhere better. Then, apply a base gel coat and cure it under your UV or LED lamp according to the product’s instructions.
Next, use your gel polish colors to create your desired design. Thin brushes are best for detailed work, and you can build layers gradually, curing each one to lock in the design. For inspiration on brush techniques, mastering nail art with thin brush techniques can offer valuable insight.
Finish with a top gel coat to seal your artwork and cure again for a long-lasting, glossy finish. Finally, wipe nails with a lint-free cloth and alcohol solution to remove any tacky residue. Following these steps carefully ensures your nail art painting gel manicure looks professional and lasts longer.
Creative Nail Art Painting Gel Techniques to Try Today
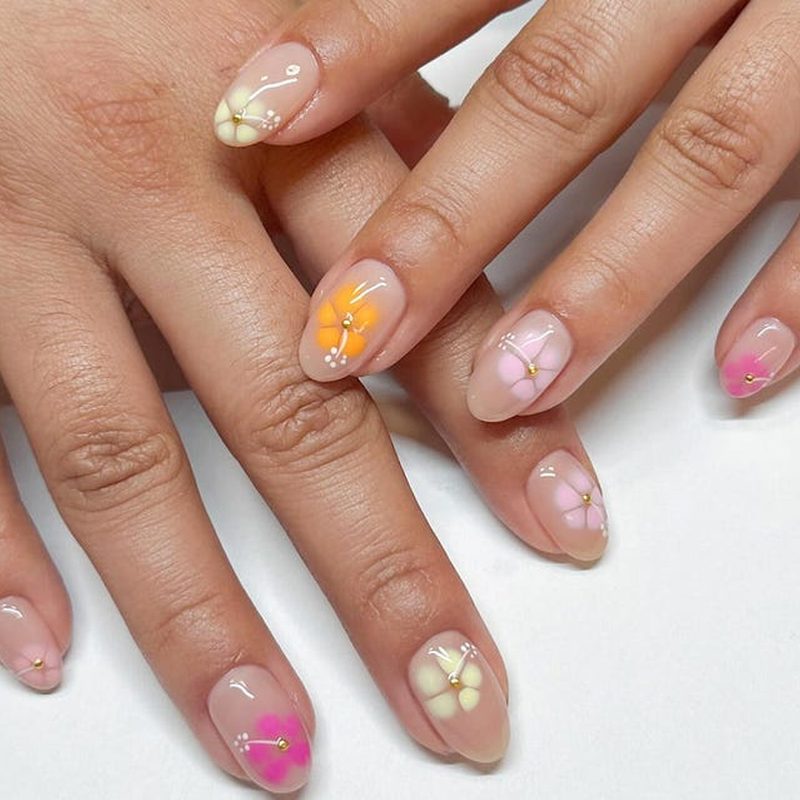
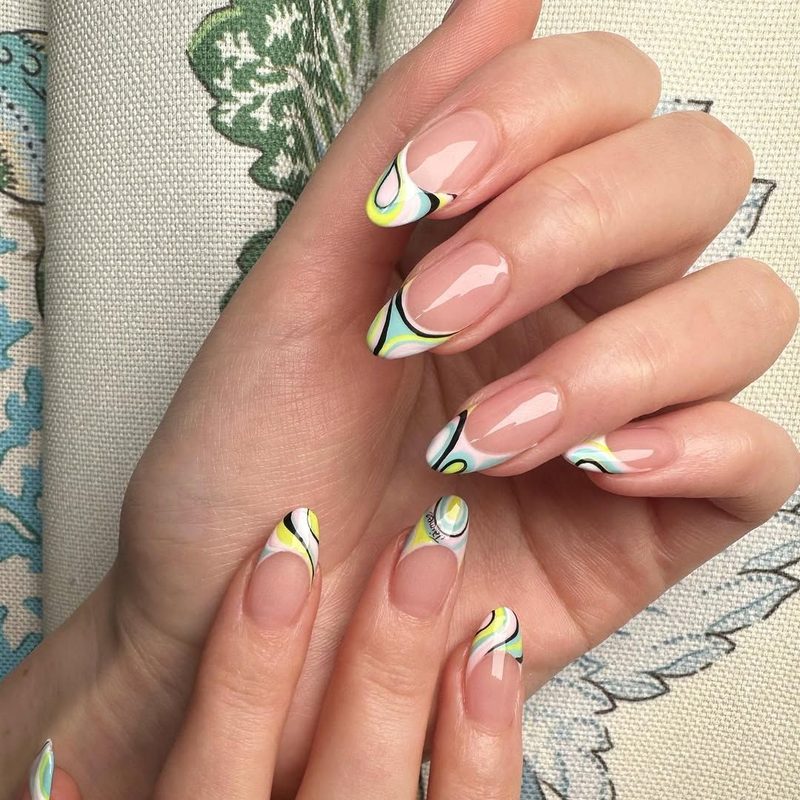
Nail art painting gel opens doors to countless creative techniques beyond basic polish application. Popular methods include ombré gradients, intricate floral patterns, and geometric lines—all achievable with gel’s smooth consistency and extended working time.
For a touch of texture and dimension, combining gel painting with other nail art elements like caviar beads or charms can create eye-catching effects. If you’re interested in elevating your manicures further, exploring nail art with caviar beads or nail art with charms adds a three-dimensional flair that pairs beautifully with gel designs.
Additionally, experimenting with different brush styles, such as fan or thin brushes, lets you tailor designs to your style. The versatility of nail art painting gel encourages endless exploration, making it perfect for both beginners and seasoned nail artists.
Maintaining and Removing Nail Art Painting Gel Safely
One of the perks of nail art painting gel is its durability, but this longevity means proper removal is just as important to maintain nail health. Avoid peeling or picking at the gel, which can damage your natural nails.
The safest removal method involves soaking nails in acetone or using professional nail wraps designed to break down gel polish gently. After removal, moisturizing and nourishing your nails with oils and creams help restore their strength.
For tips on prolonging the life of your gel manicure and care routines, you can also explore related content such as professional nail art products designed to protect and enhance nail health. Proper maintenance ensures your nails stay beautiful and healthy between gel applications.
Frequently Asked Questions
How long does nail art painting gel typically last?
With proper application and care, nail art painting gel can last between two to three weeks. Its curing process under UV or LED light creates a durable, chip-resistant layer that holds up well during everyday activities.
Can I use nail art painting gel at home without professional tools?
Yes, many gel kits are designed for at-home use and include a UV or LED lamp and basic brushes. However, investing in quality tools and practicing application techniques will improve your results significantly.
Is nail art painting gel safe for natural nails?
When applied and removed properly, nail art painting gel is generally safe for natural nails. It’s important to avoid peeling off gel polish and to moisturize nails regularly to maintain their health.
What is the difference between gel nail polish and nail art painting gel?
Gel nail polish refers broadly to gel-based color products, while nail art painting gel is specifically formulated for detailed designs and freehand painting. Painting gels tend to have a thinner consistency for precision work.
Can nail art painting gel be combined with other nail art techniques?
Absolutely. Nail art painting gel works wonderfully with other techniques like using caviar beads, charms, or stamping pens, allowing for multidimensional, creative manicures.
Mastering nail art painting gel unlocks endless possibilities for vibrant, long-lasting manicures that stand out. Whether you’re a professional nail artist or a DIY enthusiast, practicing key techniques and using quality tools will elevate your nail art game. Ready to transform your nails? Explore these tips and experiment with nail art painting gel to create your next stunning manicure.