
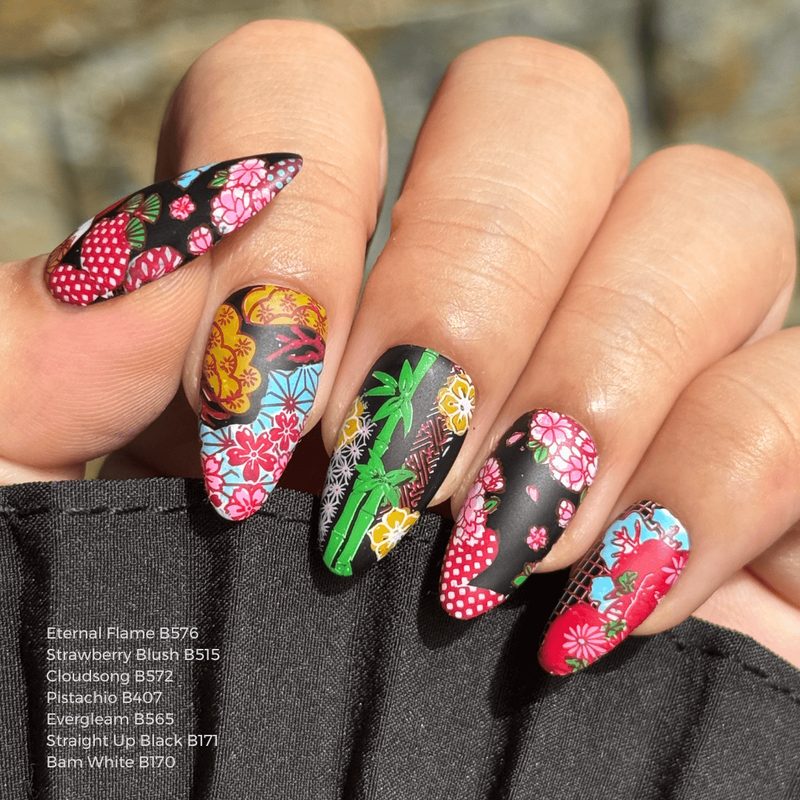
Trying to achieve intricate nail designs at home often feels frustrating, especially when traditional polishes don’t deliver the precision needed. That’s where nail art stamping polish changes the game, offering an easier way to impress with professional-looking manicures. Whether you’re new to nail art or a seasoned pro, this polish type is specially formulated to work flawlessly with stamping plates, helping you achieve crisp, detailed patterns every time. In this article, we’ll explore everything you need to know about nail art stamping polish and how it can elevate your nail salon services or at-home routine.
In this article:
What Makes Nail Art Stamping Polish Different?
Unlike regular nail polish, nail art stamping polish is thicker and highly pigmented. This enhanced formula ensures that the polish adheres well to stamping plates and transfers cleanly onto nails without smudging or fading. Its consistency is designed to pick up fine lines and delicate shapes, which are crucial for detailed nail stamp designs.
Additionally, stamping polish dries quickly but remains workable long enough to transfer patterns perfectly. This balance prevents messy smudges that often occur with standard polishes on stamping tools. For anyone serious about stamping nail art, choosing the right polish is the first step to success.
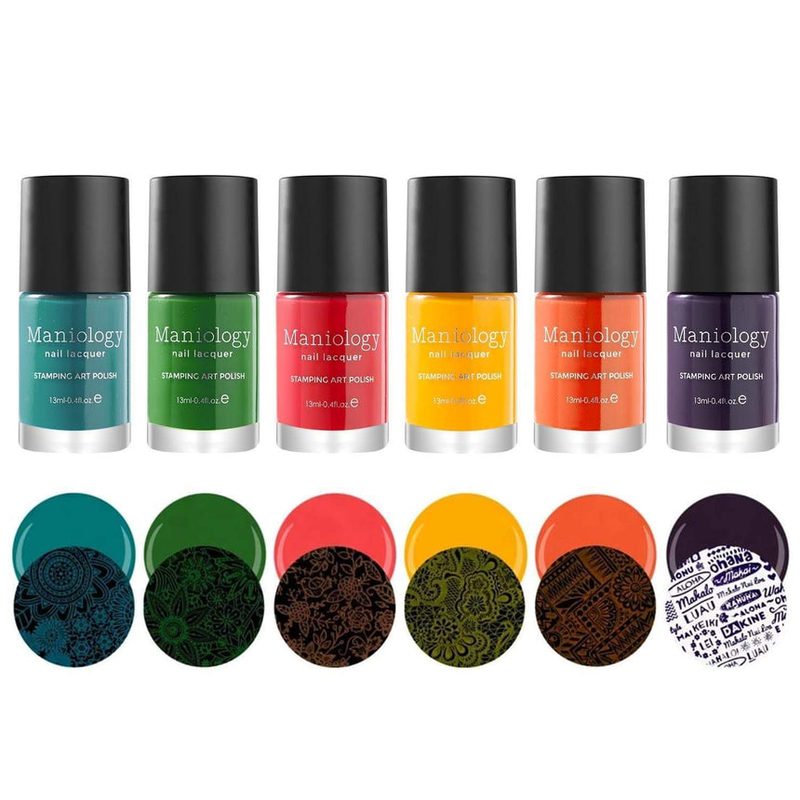
Many brands now offer a wide array of colors specifically made for stamping, from classic blacks and whites to bold metallics and vibrant hues. This variety lets you experiment with endless manicure designs that stand out with precision.
How to Use Nail Art Stamping Polish for Flawless Results
Mastering nail art stamping polish takes a few simple steps but can transform your manicure dramatically. First, choose a stamping plate with your desired patterns and clean it thoroughly to avoid residue interfering with the polish’s adhesion.
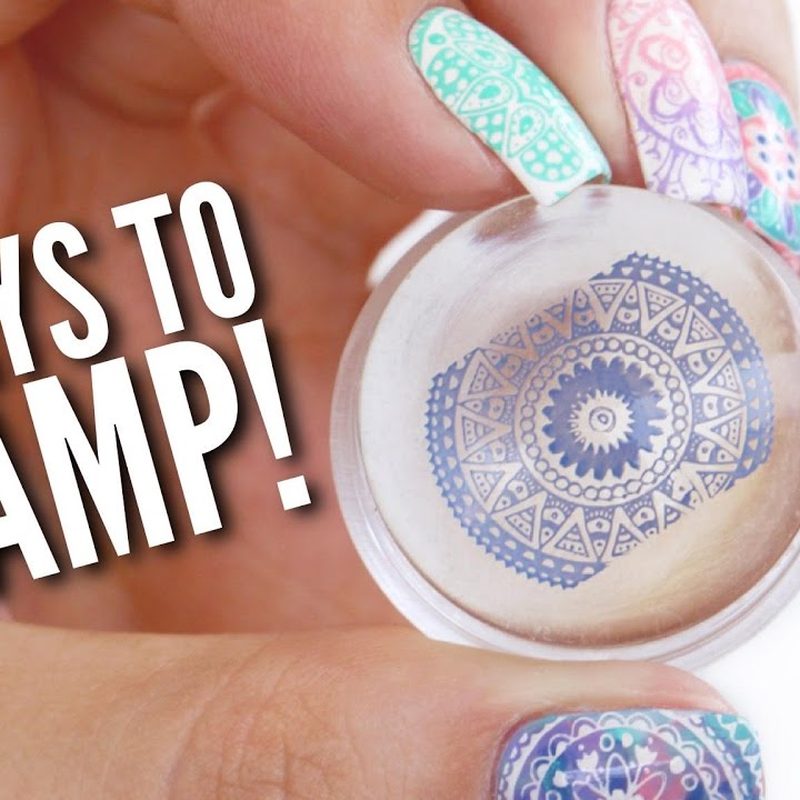
Next, apply a generous amount of stamping polish over the pattern and use a scraper to remove the excess polish, leaving polish only in the etched design. Then, quickly press a stamping tool onto the plate to lift the polish design, followed by transferring it onto your nail with a smooth rolling motion.
Timing is critical in this process; working swiftly while the polish is still tacky helps achieve crisp edges. To protect your design, finish with a clear topcoat, applied gently to avoid smudging. For more detailed techniques using specialty tools, check out our guide on Silicone Nail Art Tools to elevate your precision.
Top Tips for Choosing the Best Nail Art Stamping Polish
Selecting the right stamping polish can make or break your nail art experience. Prioritize polishes that are opaque and offer strong pigmentation for better visibility on all nail base colors. Darker shades like black or white are staples because they contrast well with most backgrounds.
Besides color, look for formulas that dry quickly yet allow slight working time for transfer. Some polishes may require shaking before use to maintain consistency. Reviews and brand reputation can also guide you in finding long-lasting, chip-resistant options.
Experimenting with different finishes such as metallic, matte, or neon stamping polishes can add creative flair. For inspiration on combining textures, explore our article on Nail Art with Caviar Beads, which pairs beautifully with stamping designs for a multi-dimensional manicure.
Creative Nail Art Stamping Polish Ideas to Try Today
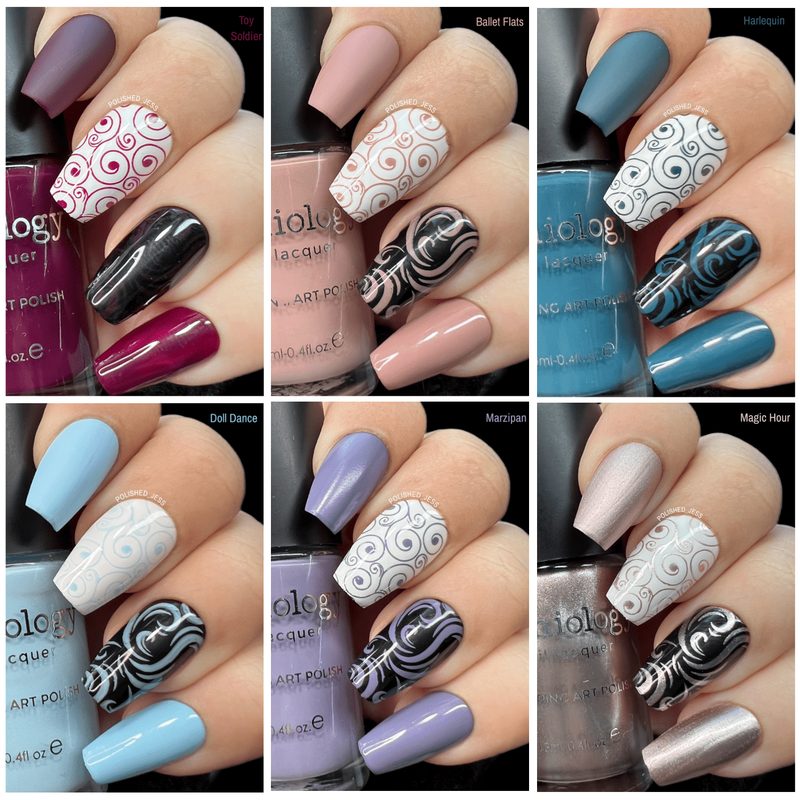
Nail art stamping polish offers endless possibilities for creativity, from delicate florals to bold geometric patterns. You can create seasonal looks or personalize your nails with favorite motifs. A popular trend is layering stamping designs over gradient or gel polish bases for a high-impact finish.
Mixing stamping with other techniques, such as nail art with charms or foil accents, can elevate your manicure to a salon-worthy level. Stamping polish works well as a versatile foundation in these multi-dimensional designs.
Whether you prefer subtle accents or full nail coverage, stamping polish makes it easier to achieve precise artwork that lasts. Switching up your approach for special occasions or everyday style keeps nail art fun and fresh.
Maintaining Your Nail Art Stamping Polish for Longevity
To keep your stamped designs looking fresh longer, proper maintenance is key. Always seal your nail art with a high-quality topcoat designed for stamping polish. This protective layer helps prevent chipping, fading, and smudging.
Avoid hot water exposure immediately after application, as it can weaken the polish bond. Wearing gloves during chores also preserves the manicure’s integrity. When ready to remove, using a gentle, acetone-free remover protects your natural nails from damage.
For professional salons or enthusiasts, investing in top-tier polish remover and tools ensures each stamping session yields consistent, beautiful results. For tips on complementary techniques, explore our piece on Mastering Nail Art with Thin Brush Techniques.
Frequently Asked Questions
What makes nail art stamping polish different from regular nail polish?
Nail art stamping polish is thicker and more pigmented than regular polish, ensuring it picks up detailed designs from stamping plates and transfers cleanly onto nails without smudging.
Can I use regular nail polish for stamping designs?
While possible, regular nail polish often lacks the opacity and consistency needed for crisp stamping. Special stamping polishes deliver more precise and long-lasting results.
How do I clean my stamping plates after use?
Use acetone or nail polish remover with a cotton pad to thoroughly clean stamping plates after each use, preventing residue buildup and ensuring clean transfers every time.
What is the best way to seal stamped nail designs?
Apply a clear, fast-drying topcoat gently over the stamped design. This locks in the pattern and prevents chipping or smudging, extending the manicure’s life.
Are there any colors that work best for stamping polish?
Black and white stamping polishes are popular for their high contrast, but metallics and neon shades offer creative options for vibrant, eye-catching designs.
Exploring nail art stamping polish opens a world of intricate, beautiful manicure possibilities that are accessible for both beginners and professionals. Using the right polish paired with proper technique ensures your designs look sharp and last longer. Whether enhancing your own nails or elevating your nail salon offerings, embracing stamping polish is a bold step toward standout nail art. Dive in, experiment with colors and patterns, and transform your manicure routine today.