
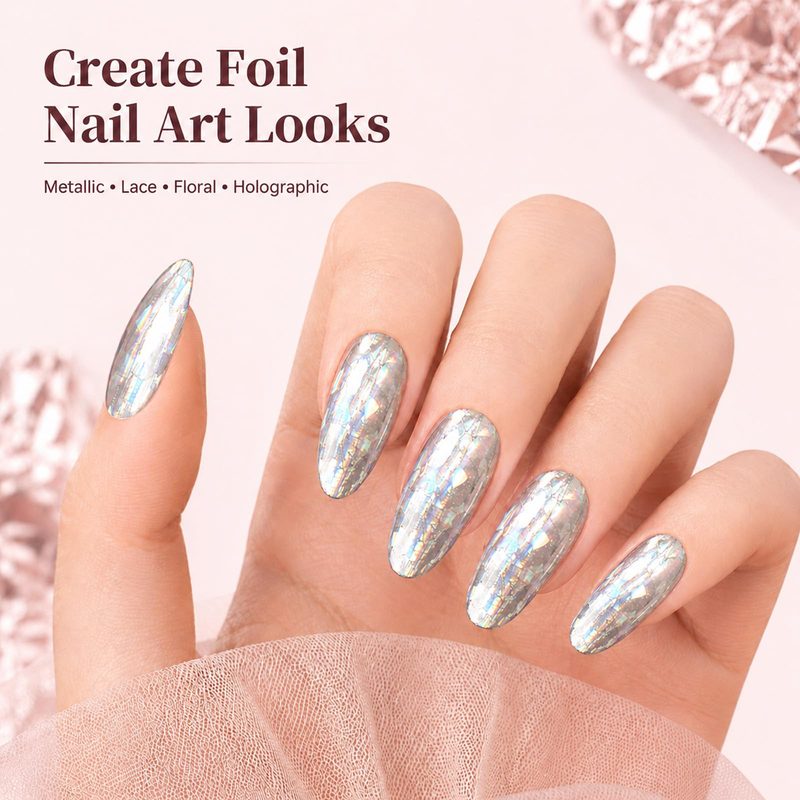
Have you ever struggled to get nail foil sheets to stick perfectly, only to end up with patchy, uneven designs? Nail art foil adhesive is the game-changer every nail enthusiast needs to master the art of foil manicures. This specialized adhesive ensures that foil transfers smoothly and adheres firmly, creating flawless, metallic effects that last. Whether you’re a professional nail artist or a DIY nail lover, understanding how to use nail art foil adhesive correctly can elevate your manicure from ordinary to extraordinary.
In this article, we’ll explore everything you need to know about nail art foil adhesive, from how it works to tips for achieving salon-quality foil nail designs. Plus, discover expert tricks and product recommendations to make your next manicure shine brighter than ever.
In this article:
What Is Nail Art Foil Adhesive and How Does It Work?
Nail art foil adhesive is a specially formulated glue designed to secure nail foils onto your nail surface. Unlike regular nail glue, this adhesive has a tacky finish that allows the foil to bond firmly without slipping or peeling. It is typically clear and dries to a slightly sticky state, which is crucial for the foil transfer process.
When applied correctly, the adhesive acts as a medium that holds the delicate foil designs in place while allowing the metallic or patterned finish to be transferred onto the nail. This process ensures vibrant colors and sharp details that last for days.
Because nail art foil adhesive is formulated specifically for foils, it is much easier to work with than trying to use standard topcoats or gels. The adhesive’s tackiness is what makes foil application seamless and professional-looking.
Step-by-Step Guide to Applying Nail Art Foil Adhesive
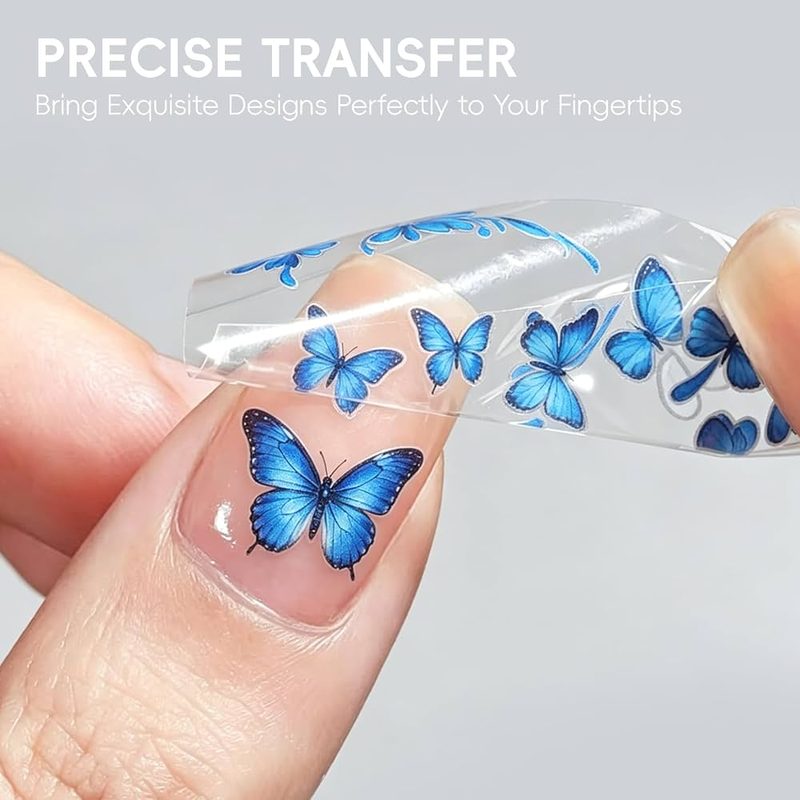
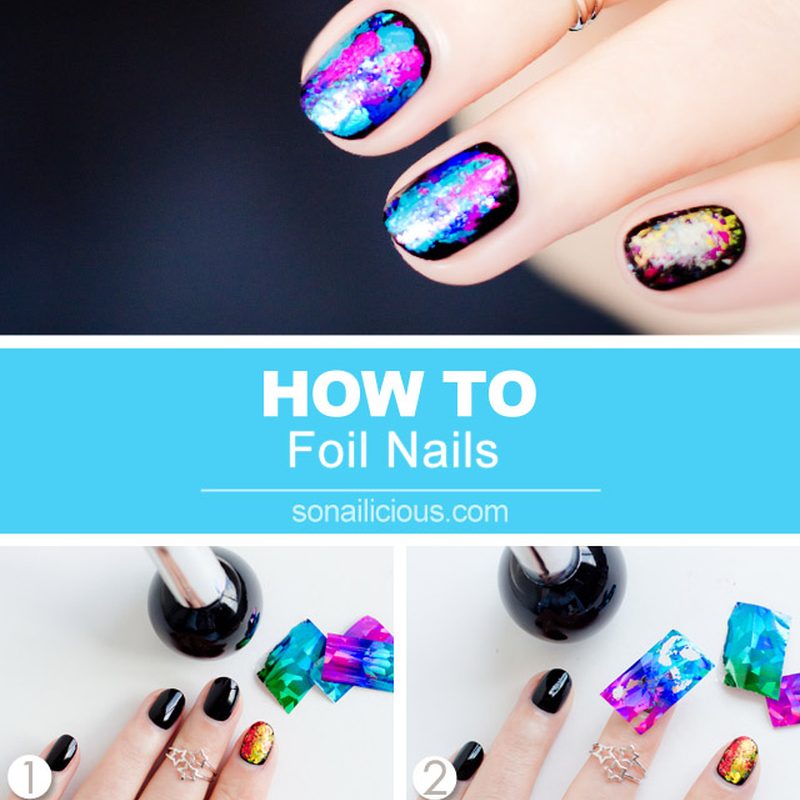
Applying nail art foil adhesive may seem tricky at first, but with the right technique, anyone can achieve stunning results. Start by prepping your nails with a clean base coat to ensure adhesion. Then, apply a thin layer of foil adhesive to the nail and wait until it becomes tacky but not completely dry—that’s usually about one to two minutes.
Next, press your chosen foil design gently onto the nail, shiny side up, and hold firmly for 10 to 15 seconds. Carefully peel back the foil to reveal the transferred pattern. Finally, seal your design with a top coat to extend wear time and add shine. For a more detailed walkthrough, check out our guide on nail art foil glue.
Patience and practice are key. If the adhesive dries too much before applying the foil, it won’t stick properly, so timing is everything.
Choosing the Best Nail Art Foil Adhesive for Your Manicure
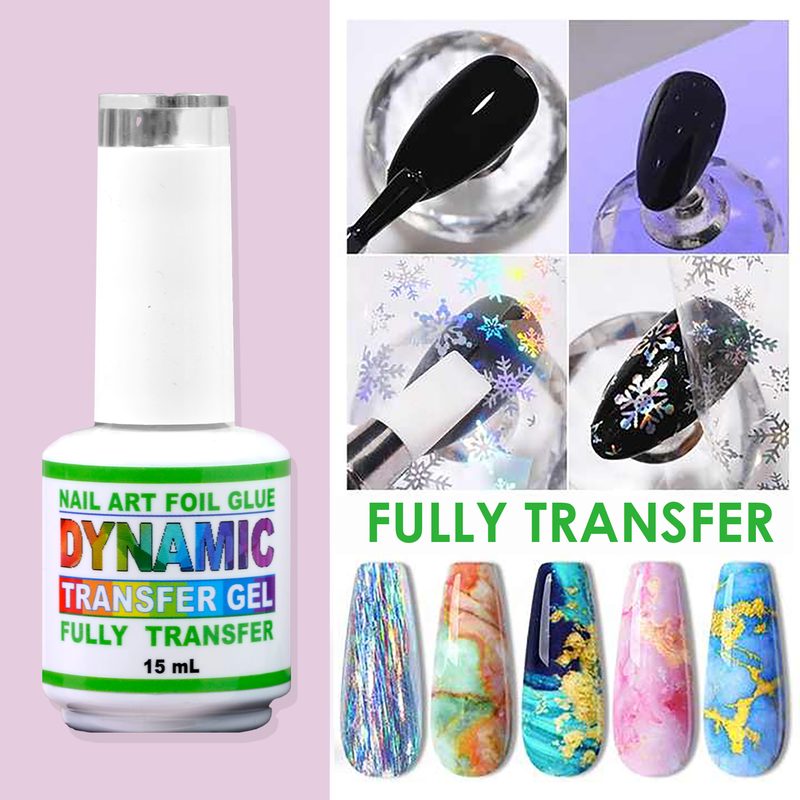
Not all nail art foil adhesives are created equal. When selecting an adhesive, consider factors like drying time, tackiness level, and compatibility with your nail polish or gel system. Some adhesives dry too quickly, making foil application difficult, while others may not provide enough adhesion.
Look for trusted brands that offer a balanced drying time and strong tackiness, specifically formulated for foil nails. Additionally, water-based formulas tend to be gentler on nails and easier to remove, making them ideal for sensitive skin or frequent changes.
For professionals, investing in a high-quality adhesive can streamline the application process and deliver consistent results. Our article on essential tools for nail professionals offers further insights into complementing your foil adhesive with the right gel products.
Creative Nail Art Foil Designs You Can Achieve with Adhesive
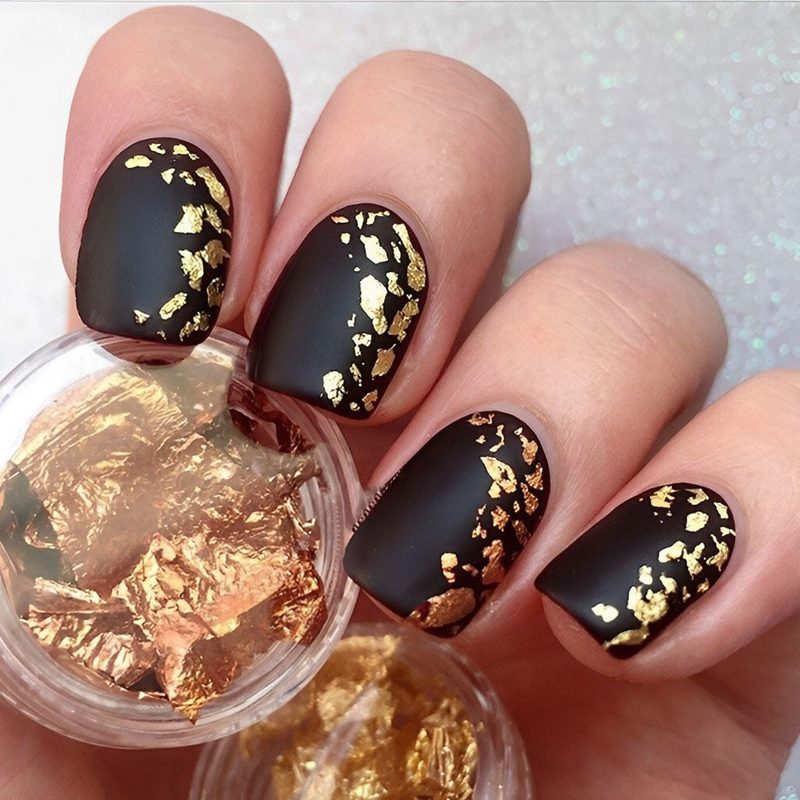
With nail art foil adhesive, the design possibilities are endless. From metallic gradients and abstract shapes to intricate patterns and seasonal themes, foils add a luxe, eye-catching element to any manicure. This adhesive helps to bring out the sharpness and vibrancy of the designs, making your nails stand out in any setting.
Experimenting with layering different foil colors or combining foils with stamping plates can create unique effects. For example, metallic gold foils paired with delicate lace patterns provide a chic, high-fashion look perfect for bridesmaids or special occasions.
Explore how to elevate your designs further by pairing foils with Swarovski crystals for a dazzling finish, as detailed in our article on Swarovski Crystals for Nail Art. Your creativity is the limit when you master foil transfer with the right adhesive.
Troubleshooting Common Issues with Nail Art Foil Adhesive
Even the best nail art foil adhesive can pose challenges if not used properly. One common issue is the foil not transferring fully, leaving gaps or patchiness. This usually means the adhesive wasn’t tacky enough or the foil wasn’t pressed firmly enough.
Peeling or lifting foils can occur if the top coat is applied too soon or if incompatible products are layered. Always make sure the adhesive is dry to the correct tacky stage before applying the foil and wait for the foil to fully adhere before sealing with a top coat.
Additionally, avoid excessive rubbing or water exposure immediately after application to prolong the life of your foil manicure. For tips on achieving lasting shine and protection, see our detailed guide on top coat nail art.
Frequently Asked Questions
What is the difference between nail art foil adhesive and nail glue?
Nail art foil adhesive is designed to have a tacky, slightly sticky finish ideal for transferring thin foil sheets, while nail glue is stronger and dries hard to bond artificial nails or decorations. Using glue for foils can result in poor adhesion or damage, so foil adhesive ensures better transfer and durability.
Can I use nail art foil adhesive with regular polish or only gel?
Nail art foil adhesive works with both regular polish and gel nails, but it’s particularly effective with gel because it adheres well to the smooth surface and cures under UV light. However, it’s important to follow drying times closely regardless of your base type.
How long does nail art foil adhesive take to dry before applying foil?
Typically, nail art foil adhesive takes about 1 to 2 minutes to dry to the perfect tacky stage for foil application. If it dries too quickly or fully, the foil won’t stick properly, so timing is essential for optimal results.
Is nail art foil adhesive safe for natural nails?
Yes, most nail art foil adhesives are formulated to be safe and gentle on natural nails when used correctly. Choosing water-based or non-toxic options further reduces the risk of irritation or damage during foil application.
How do I remove nail foil from my nails without damaging them?
To remove foil nail designs, soak your nails in acetone-based polish remover for 10-15 minutes. Gently peel off the foil once the adhesive softens. Avoid forceful scraping to prevent nail damage.
Mastering the use of nail art foil adhesive is key to achieving flawless, dazzling foil nail designs that last. With the right adhesive, technique, and creative vision, your manicures can stand out with metallic brilliance and intricate patterns. Ready to elevate your nail art game? Experiment with quality adhesives and explore the endless design possibilities today.