
When your at-home manicures start feeling repetitive, or your salon visits leave you wishing for more creative flair, stamping plates for nail art offer a game-changing solution. These innovative tools allow you to transfer intricate, professional-quality designs onto your nails effortlessly. Whether you’re a seasoned nail artist or just beginning, stamping plates open the door to endless possibilities for unique, eye-catching manicures.
From delicate florals to bold geometric patterns, stamping plates save time without compromising style. This article dives deep into everything you need to know about stamping plates for nail art, including how to choose the best sets, master the technique, and maintain your tools for flawless results every time.
In this article:
- Understanding Stamping Plates for Nail Art: What Makes Them Essential
- Choosing the Right Stamping Plates for Your Nail Art Collection
- Mastering the Nail Stamping Technique for Flawless Designs
- Creative Ideas Using Stamping Plates for Nail Art
- Maintaining and Caring for Your Stamping Plates
- Beyond Stamping: Enhancing Your Nail Art Experience
Understanding Stamping Plates for Nail Art: What Makes Them Essential
Stamping plates for nail art are thin metal sheets embossed with various designs. These plates act as a stencil, allowing you to pick up detailed patterns with a stamper and transfer them onto your nails. Unlike freehand painting, stamping ensures precision and consistency, especially for intricate or repetitive designs.
Professionals and hobbyists alike appreciate how stamping plates reduce the learning curve for complex nail art. They offer a quick way to elevate your manicure style with minimal effort, perfect for busy schedules or special occasions. Moreover, with a wide variety of plates available, you can continually refresh your look without investing in expensive tools.
Learning how to incorporate stamping plates into your routine can also enhance your understanding of other manicure essentials like top coats for lasting shine and nail art gels, creating a polished final look.
Choosing the Right Stamping Plates for Your Nail Art Collection
Not all stamping plates are created equal. When selecting stamping plates for nail art, prioritize quality and design variety. High-quality plates have deep, cleanly etched patterns that hold polish well, ensuring crisp transfers. Cheaper plates may produce blurry or incomplete designs, which can be frustrating.
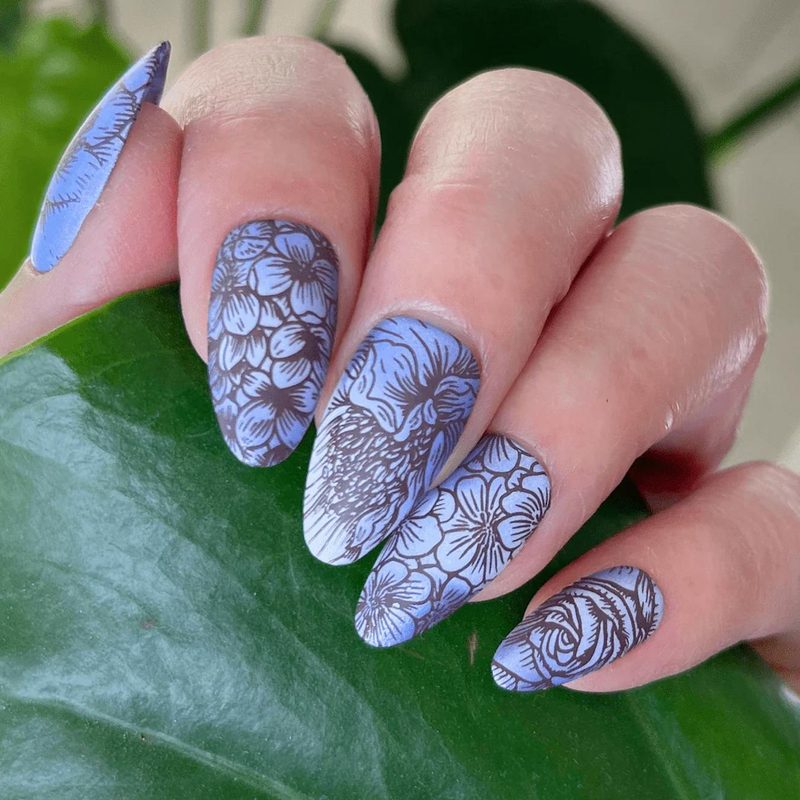
Consider your style preferences; some plates focus on trendy motifs like florals and lace, while others emphasize bold geometric or seasonal themes. Building a diverse collection lets you experiment and tailor nail art to every mood or event.
Also, look for plates that fit your nail size and shape. Larger plates with multiple design options offer great value and flexibility. Pairing your plates with reliable stamping tools completes the setup—explore tools like the nail art equipment all sets to find complementary accessories.
Mastering the Nail Stamping Technique for Flawless Designs
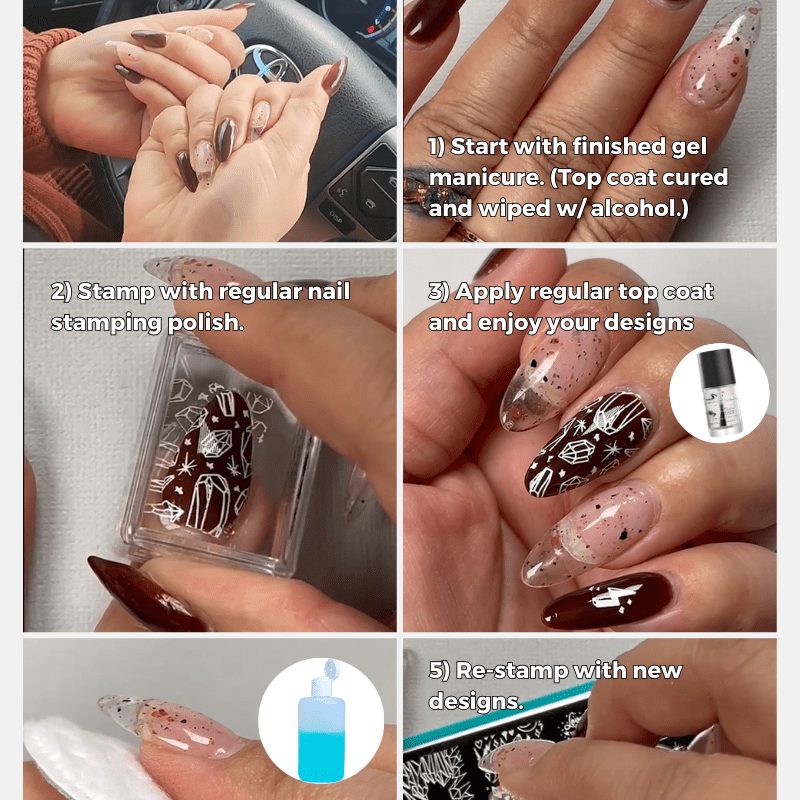
Nail stamping might seem complicated at first, but mastering the technique is straightforward with patience and practice. Begin by applying a base polish and allowing it to dry completely. Next, apply a generous layer of stamping polish onto your chosen design on the plate.
Use a scraper to remove excess polish, then press a silicone stamper onto the plate to pick up the pattern. Finally, roll or press the stamper gently onto your nail. This transfer creates a sharp, detailed image that no brush could replicate easily.
To perfect your stamping, clean the plates and stamper regularly, and experiment with different polishes and top coats. For extra durability, seal your design with a top coat as described in our Top Coat Nail Art guide.
Creative Ideas Using Stamping Plates for Nail Art
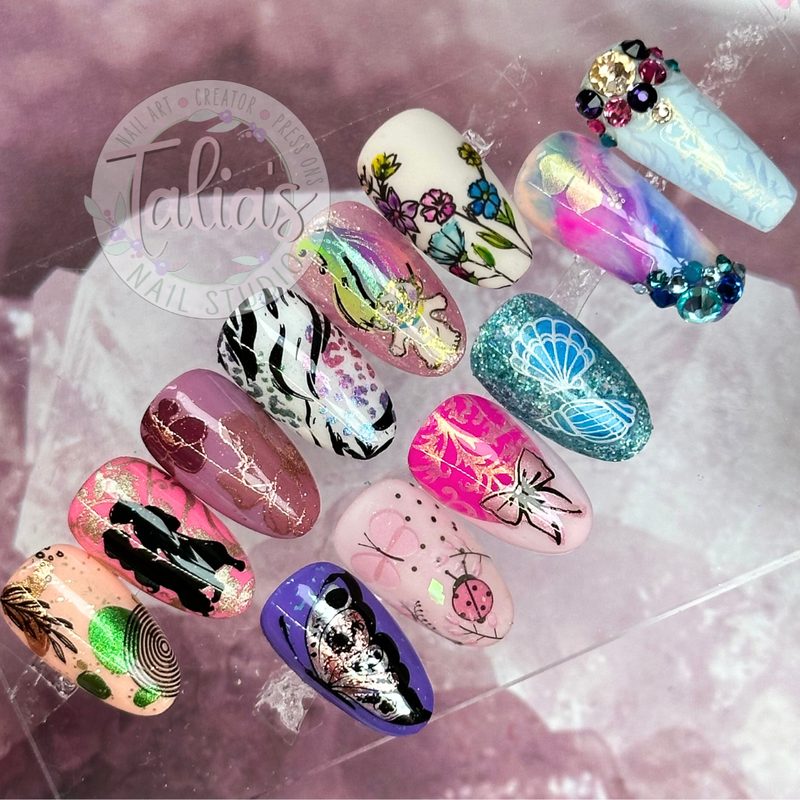
Once you’ve got the basics down, stamping plates for nail art unlock a world of creative possibilities. Mix and match patterns from different plates to build custom looks. For example, combine floral prints with geometric shapes for a modern twist on classic designs.
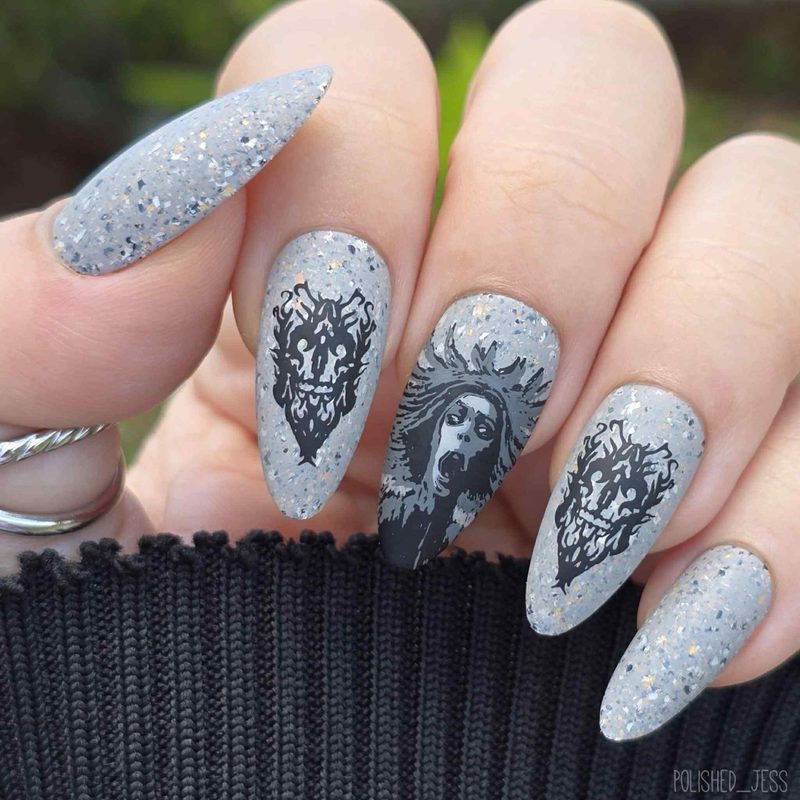
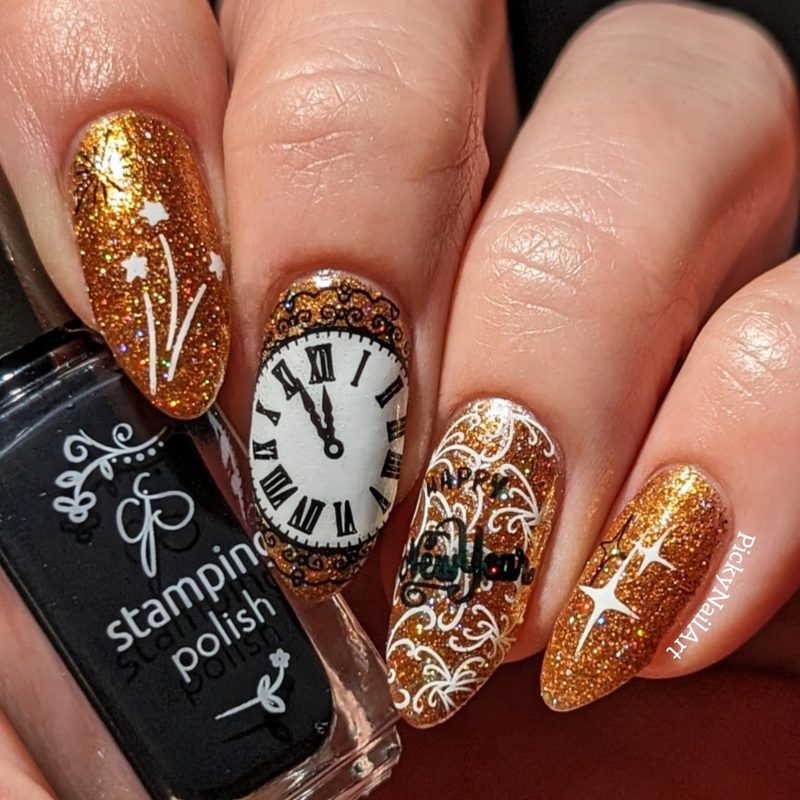
Seasonal themes are also fun; try spooky motifs for Halloween or delicate lace patterns for weddings and special occasions. You can even layer stamping with other techniques like using Swarovski crystals for added dimension and sparkle.
Experiment with color contrasts and metallic polishes to make your designs pop, or use negative space stamping for chic minimalism. The key is to keep exploring and letting your personal style shine through.
Maintaining and Caring for Your Stamping Plates
Proper care extends the lifespan of your stamping plates for nail art and ensures consistently clean prints. After each use, wipe your plates with nail polish remover or acetone to remove residual polish and prevent buildup in the etched designs.
Store plates flat and away from moisture to avoid tarnishing or rust. Using a protective plastic sleeve or dedicated organizer helps keep them scratch-free and ready to use.
Regular maintenance also means cleaning your stamper heads gently with a lint-free cloth or alcohol wipe. Avoid harsh scrubbing to preserve the silicone surface. With routine care, your stamping tools will deliver flawless nails for years.
Beyond Stamping: Enhancing Your Nail Art Experience
While stamping plates for nail art are transformative on their own, pairing them with complementary tools and techniques elevates your manicure further. Consider exploring gel palettes for mixing custom colors, or 3D nail art brushes to add sculptural elements alongside stamped designs.
Adding layers like delicate line work with precision liners or ink details creates stunning depth. These multi-dimensional manicures capture attention and showcase your nail artistry skills.
Staying updated with trends and investing in quality products ensures your stamping journey remains exciting and rewarding. Whether for personal use or professional nail salons, these enhancements complement stamping plates beautifully.
Frequently Asked Questions
What are stamping plates for nail art made of?
Stamping plates for nail art are typically made from thin stainless steel, which is durable and rust-resistant. The metal surface is etched with recessed designs that hold polish, allowing easy transfer onto nails using a stamper.
Can beginners use stamping plates for nail art?
Absolutely. Stamping plates simplify complex designs and are beginner-friendly. With a bit of practice, anyone can create professional-looking nail art without advanced painting skills.
How do I clean my stamping plates effectively?
Use nail polish remover or acetone with a lint-free cloth to wipe your stamping plates after every use. This prevents polish buildup and keeps the etched designs sharp for future stamping.
Are stamping plates reusable?
Yes, stamping plates are reusable and can last for years if properly cared for. Regular cleaning and storage in protective sleeves help maintain their quality.
What polish works best with stamping plates?
Special stamping polishes, which are thicker and more pigmented than regular polish, yield the best results. They provide better coverage and transfer cleanly from plate to nail.
Stamping plates for nail art unlock endless creativity, making it easy to achieve stunning, professional-quality manicures at home or in the salon. By choosing quality plates, mastering the stamping technique, and exploring complementary tools, you can elevate your nail designs to the next level. Ready to transform your nail art routine? Start experimenting with stamping plates today and express your style with every manicure.