
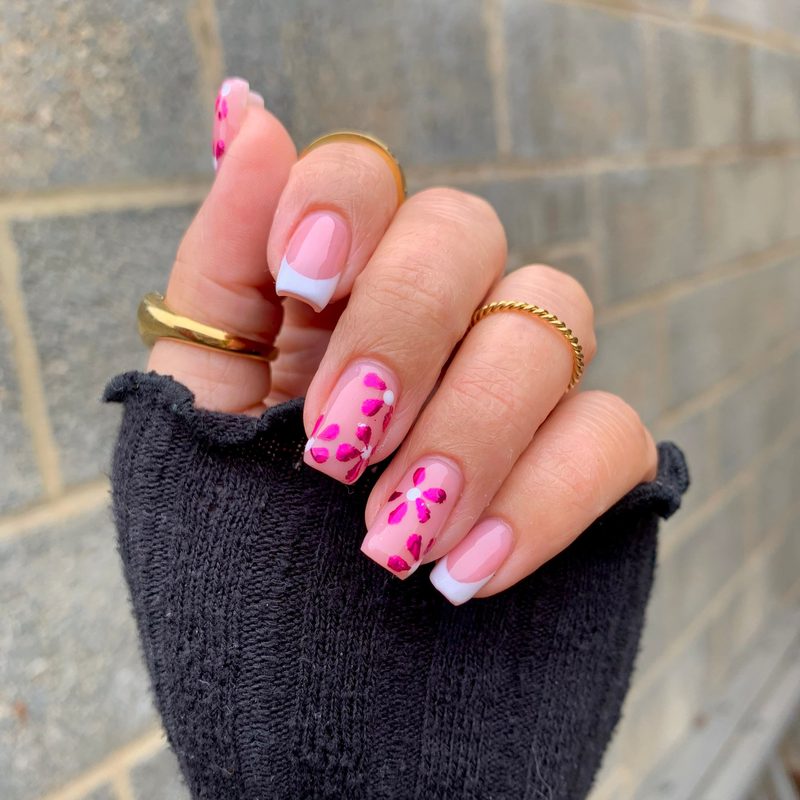
If you’ve ever struggled to achieve that flawless, high-impact manicure, the secret might just be in the foil for nail art. This versatile beauty tool instantly lifts your nail game by adding metallic shine, intricate patterns, or even holographic effects with minimal effort. Whether you’re a nail art newbie or a seasoned pro, mastering the use of nail foils offers endless creative possibilities. In this article, we’ll dive into the best types of foil for nail art, how to apply it flawlessly, and tips to maintain your shiny designs so they last as long as possible.
In this article:
- Why Foil for Nail Art Has Become a Salon Favorite
- Types of Foil for Nail Art and How to Choose the Right One
- Step-by-Step Guide to Applying Foil for Nail Art Perfectly
- Creative Nail Foil Designs to Try at Home or in the Salon
- Maintaining Your Foil for Nail Art: Tips for Longevity
- Incorporating Foil for Nail Art with Other Techniques
Why Foil for Nail Art Has Become a Salon Favorite
Foil for nail art has surged in popularity due to its ability to add instant glam without complicated tools or lengthy processes. Unlike traditional nail polish or gel, foils provide a reflective, multi-dimensional finish that catches the eye. Salons love them because they offer clients a unique look that stands out from everyday manicures.
Additionally, nail foils are incredibly versatile. They can complement a simple base color or be layered with other nail art techniques like gel painting or rhinestones. This adaptability makes them a perfect option for creative expression or themed designs.
Moreover, foils often require minimal drying time, speeding up appointments while delivering dramatic results. This efficiency benefits both nail artists and clients who want quick but impressive manicures. The growing range of foil patterns and colors also means there is something for every style, from subtle metallic sheens to bold graphic prints.
Types of Foil for Nail Art and How to Choose the Right One
Understanding the types of foil for nail art helps you select the best option for your desired look. There are mainly transfer foils, adhesive foils, and gel-activated foils. Transfer foils are the most common; they require a sticky base to transfer the foil onto the nail surface, creating shiny, metallic patterns.
Adhesive foils come pre-coated with a sticky backing, simplifying the application process for beginners. Gel-activated foils need a special gel polish or adhesive to bond properly, often yielding longer-lasting results. Each type offers different effects and durability, so consider your skill level and how long you want your manicure to last.
Choosing the right foil also depends on the design you want. For instance, holographic foils add a futuristic vibe, while chrome foils provide mirror-like reflections. Floral or geometric patterned foils can serve as statement pieces on accent nails. Exploring various foil options allows you to personalize your nail art with endless creativity.
Step-by-Step Guide to Applying Foil for Nail Art Perfectly
Applying foil for nail art requires patience and precision but is surprisingly easy once you get the hang of it. Start with clean, dry nails and apply a base coat or colored polish, allowing it to dry completely. For best results, use a gel base or a foil adhesive specifically designed for nail art.
Next, cut a piece of foil slightly larger than your nail and place it over the tacky layer. Press down firmly, especially around the edges, using a silicone tool or your fingertip. Slowly peel back the foil sheet; if done correctly, the foil pattern will transfer onto your nail surface.
Finish with a top coat to seal the design and enhance durability. For more intricate looks, combine foils with other nail art techniques like gel art paint for nails or rhinestones to add dimension and sparkle to your manicure.
Creative Nail Foil Designs to Try at Home or in the Salon
Nail foil designs are limited only by your imagination. Popular trends include marble effects using fractured foil pieces, geometric patterns with sharp lines, and gradient foiling that blends different colors seamlessly. These designs can be achieved by layering foil on top of contrasting base colors or by combining multiple foil types.
Seasonal inspiration also influences nail foil styles. For example, metallic gold and bronze foil accents add warmth in the fall, while iridescent and holographic foils are popular for festive and holiday manicures. Pairing foil with themed nail art supplies can elevate your look for special occasions.
Experimenting with foil shapes and sizes enhances texture and visual interest. Some artists create broken glass nails by layering irregular foil fragments, which catch the light uniquely. Whether you prefer subtle shimmer or bold statement nails, foil for nail art offers endless opportunities.
Maintaining Your Foil for Nail Art: Tips for Longevity
To keep your foil for nail art looking fresh and dazzling, proper maintenance is key. Start by applying a high-quality top coat after foil application to protect the design from chipping and peeling. Reapplying the top coat every few days can extend wear significantly.
Avoid harsh chemicals and excessive water exposure, which can degrade the foil finish. Wearing gloves while doing household chores helps safeguard your manicure. Additionally, regular cuticle care and moisturizing keep nails healthy, providing a better surface for foil adhesion.
If you notice any lifting or damage, it’s best to remove and redo the foil rather than patching, ensuring the integrity of your design. Learning these maintenance tips will help you enjoy your nail foil designs longer and keep your manicure salon-perfect between visits.
Incorporating Foil for Nail Art with Other Techniques
Foil for nail art pairs beautifully with various other nail art techniques, allowing for intricate and personalized manicures. Combining foil with rhinestones for nail art can add glamorous sparkle, while layering it over gel art paint creates a sophisticated textured effect.
Another popular fusion is using foil alongside chrome powder to achieve mirror-like finishes with added dimension. Some nail artists integrate foil with 3D designs or sculpture gels for a mixed-media approach that elevates the manicure’s artistry.
Exploring these combinations broadens your creative horizons and opens up possibilities for unique salon services or at-home nail art sessions. Whether you’re enhancing a simple gel polish or building complex nail sculptures, foil elements add a wow factor that’s hard to match.
Frequently Asked Questions
What is the best adhesive for applying foil for nail art?
The best adhesive depends on the type of foil you use. Transfer foils typically require a special foil glue or a gel polish with a tacky layer. For beginners, pre-coated adhesive foils are easier as they have built-in stickiness. Using a gel base coat or a high-quality foil glue ensures better transfer and longer-lasting results.
Can I use regular nail polish with foil for nail art?
Regular nail polish can be used as a base, but it usually lacks the tackiness needed for foil transfer. To use foils effectively, you need a foil glue or a gel polish top layer that remains sticky. Without this tacky layer, the foil won’t adhere properly and will peel off quickly.
How do I remove foil from nails without damaging them?
To remove foil safely, soak your nails in acetone or use a gel polish remover wrap method. Gently rub with a cotton pad to lift the foil without scraping or peeling aggressively. Avoid forceful removal to prevent nail damage. After removal, moisturize your nails and cuticles to restore hydration.
How long does foil nail art typically last?
Foil nail art usually lasts between 7 to 14 days depending on the quality of foil, adhesive, and maintenance. Using gel polish or a strong foil glue extends wear time, while proper top coat application protects the design. Avoiding excessive water and harsh chemicals also helps preserve the foil’s shine and adhesion.
Can I create my own foil designs at home?
Yes, creating foil designs at home is achievable with some practice. Invest in quality foils, foil glue or gel polish, and learn basic application techniques. Start with simple designs and gradually experiment with layering and combining foils with other nail art supplies like gels or rhinestones for custom looks.
Foil for nail art is a game-changer for anyone looking to elevate their manicure with dazzling, professional-quality designs. From choosing the right type of foil to mastering application and maintenance, this versatile tool unlocks endless creative possibilities. Whether you’re enhancing a salon service or experimenting at home, incorporating foil into your nail art repertoire adds instant sophistication. Ready to transform your next manicure? Explore foil nail art techniques and watch your nails steal the spotlight.