
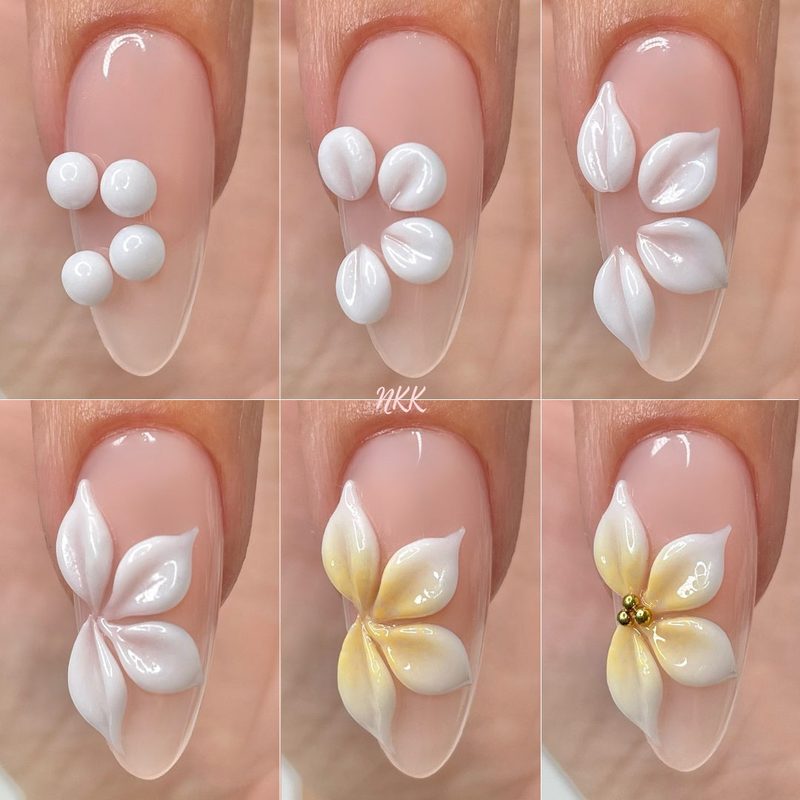
When it comes to achieving flawless, long-lasting nail designs, many beauty enthusiasts and professionals turn to nail art sculpting gel. It’s not just about adding color; it’s about creating intricate, durable shapes and textures that truly stand out. Nail art sculpting gel offers a versatile solution for nail technicians and DIY artists alike who want to customize every manicure with precision and creativity. Whether you’re a seasoned nail artist or just beginning, mastering this product can dramatically transform your nail game.
This comprehensive guide dives deep into the benefits, application techniques, and creative possibilities with nail art sculpting gel, helping you enhance your salon services or personal nail routine with stunning, sculpted nails that last.
In this article:
What Is Nail Art Sculpting Gel and How Does It Work?
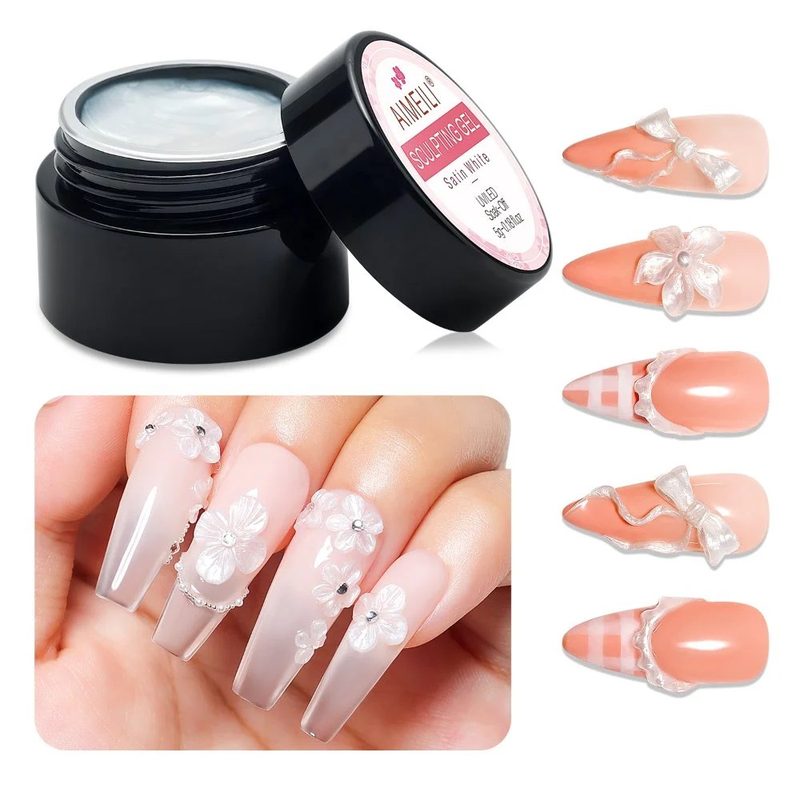
Nail art sculpting gel is a thick, moldable gel used to create 3D effects, extensions, and detailed designs on nails. Unlike traditional gel polish, it’s designed to hold shape and structure, allowing nail artists to sculpt nails into various forms or add textured embellishments. Its unique consistency lets it cure under UV or LED lamps, hardening without losing its shape.
This product is favored for its durability and flexibility, making it ideal for nail extensions and advanced nail art techniques. It can be layered for volume or used sparingly for delicate accents. As a result, it offers much more creative freedom compared to regular nail polishes or softer gels.
Understanding how nail art sculpting gel works is crucial for achieving the right finish and ensuring polish adherence, especially when combined with other professional nail art tools and products.
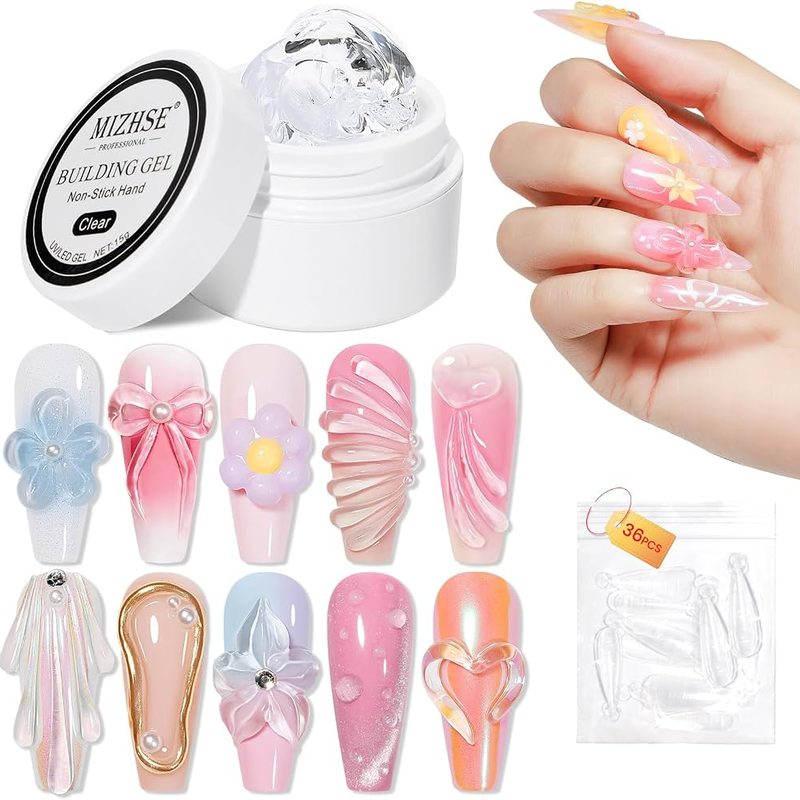
Step-by-Step Guide to Applying Nail Art Sculpting Gel
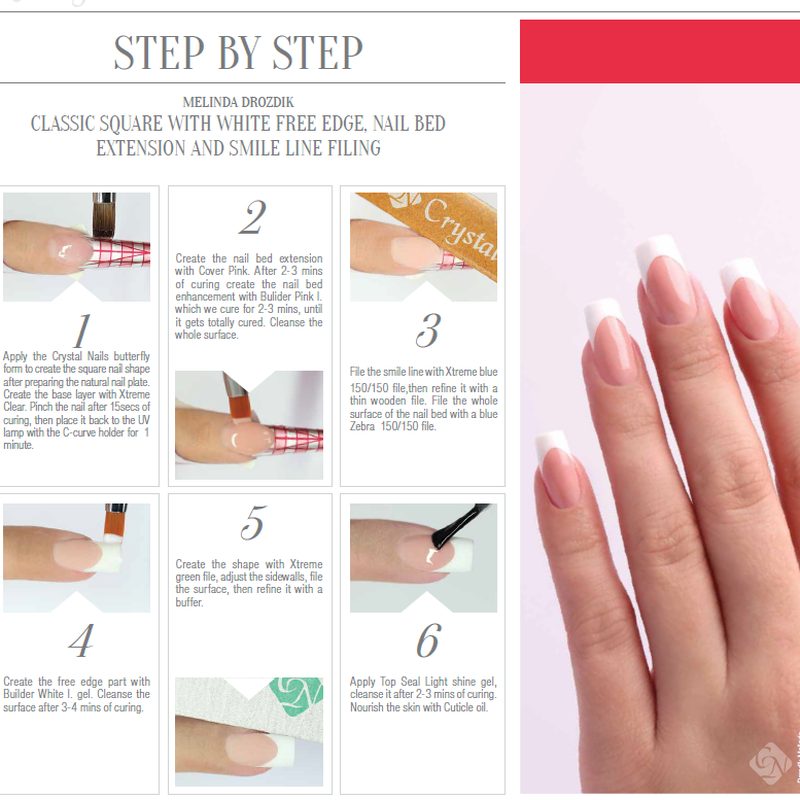
Applying nail art sculpting gel begins with a clean, prepped nail surface. Start by pushing back cuticles and lightly buffing the nail plate to ensure better adhesion. Next, apply a base gel coat and cure it under an LED lamp for around 30 seconds.
Once the base is set, use a specialized brush to pick up a small bead of sculpting gel. Mold the gel onto your nail, sculpting the desired shape or 3D detail before curing it under the lamp. Patience is key here—cure in layers if building volume or complex designs.
After the final cure, buff and shape the nail to smooth any imperfections. Finish with a top coat for a glossy, protective finish. For inspiration on complementary tools, check out the Silicone Nail Art Tools guide to elevate precision during sculpting.
Creative Techniques to Try with Nail Art Sculpting Gel
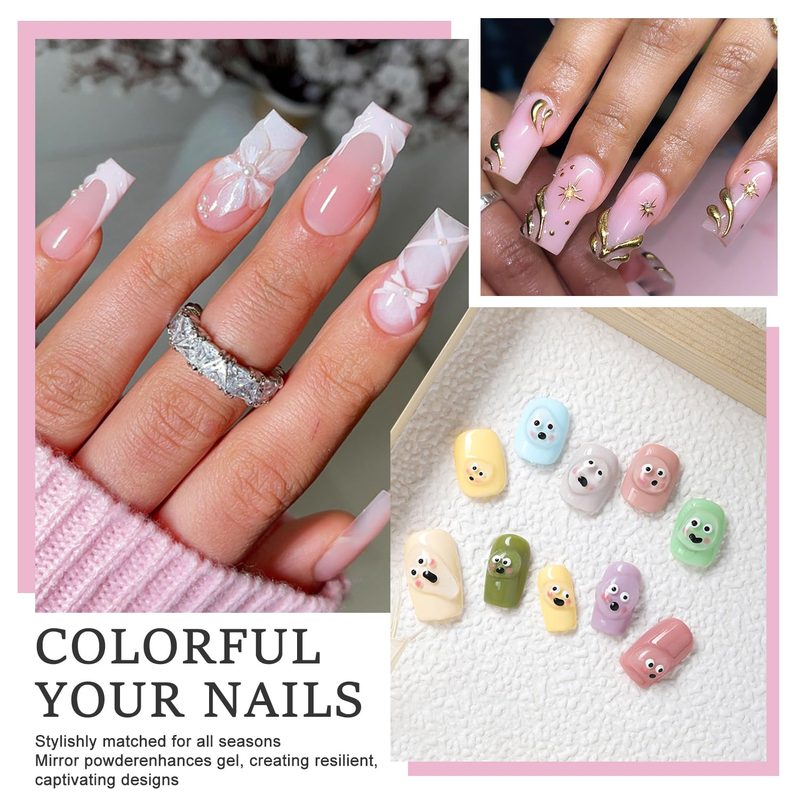
With nail art sculpting gel, the creative possibilities are endless. From delicate floral designs to dramatic 3D geometric patterns, this gel allows for artistic freedom that surpasses traditional polish. One popular technique involves layering different colors or embedding charms and beads within the gel for a textured look.
Another innovative method is combining sculpting gel with stamping tools or thin brushes to create intricate patterns that pop. For instance, artists often use the Nail Art Stamping Pen alongside sculpting gel to add detailed motifs with precision.
Experimenting with these techniques can set your nails apart, whether for personal expression or to enhance your salon’s professional portfolio.
Benefits of Using Nail Art Sculpting Gel in Your Salon Services
Incorporating nail art sculpting gel into your salon services offers numerous benefits. It improves client satisfaction by delivering durable, customizable nail shapes and designs that last longer than traditional polish. This gel also reduces chipping and damage, making it ideal for active clients.
Additionally, sculpting gel enhances the range of services you can provide, from gel extensions to intricate 3D decorations, increasing your salon’s appeal and profitability. Clients appreciate the unique textures and raised designs only possible with sculpting gel.
For professionals seeking to widen their expertise, pairing sculpting gel with professional nail art sets improves efficiency and results. Discover more about assembling your ideal Nail Art Set Professional to complement your sculpting gel tools.
Common Mistakes to Avoid When Working with Nail Art Sculpting Gel
Even experienced nail artists can face challenges when working with nail art sculpting gel. A typical mistake is applying too much gel at once, which can lead to uneven curing and a bulky, unnatural look. It’s essential to work in thin layers and cure adequately between applications.
Another common error is neglecting proper nail prep, which compromises adhesion and causes lifting or peeling. Always clean and dehydrate nails before gel application to ensure lasting results.
Lastly, avoid skipping the final buffing and top coat, as these steps provide a polished finish and protect the sculpted design from damage over time.
Frequently Asked Questions
How long does nail art sculpting gel typically last?
Nail art sculpting gel can last anywhere from two to four weeks, depending on nail care and the quality of products used. Proper application and curing under LED or UV lamps are critical for durability. Regular maintenance and avoiding harsh chemicals also extend the life of sculpted nails.
Is nail art sculpting gel safe for natural nails?
Yes, when applied correctly, nail art sculpting gel is safe for natural nails. It offers a protective layer while allowing nails to breathe better than acrylics. However, improper removal or overuse may cause damage, so it’s best to have a professional handle the application and removal process.
Can I use nail art sculpting gel at home without professional tools?
While possible, using nail art sculpting gel at home requires specific tools like LED or UV lamps and precision brushes. Beginners might find it challenging to sculpt intricate designs without practice and proper equipment. Starting with simpler designs or visiting a salon can help ease into the process.
What’s the difference between gel polish and nail art sculpting gel?
Gel polish is a thin, colored coating for nails that provides shine and durability. Nail art sculpting gel is thicker and moldable, designed to create 3D shapes, nail extensions, and textured designs. Sculpting gel hardens while maintaining shape, unlike gel polish, which lays flat on the nail’s surface.
How do you remove nail art sculpting gel safely?
Removing nail art sculpting gel safely involves soaking nails in acetone and gently pushing off the softened gel with a cuticle pusher. Avoid scraping or forcibly peeling the gel to prevent nail damage. For detailed tips, consult professional advice or visit a nail salon for removal services.
Nail art sculpting gel remains a game-changer for anyone passionate about creating durable, eye-catching nail designs. Its versatility and strength empower both professionals and enthusiasts to push creative boundaries while delivering salon-quality results. Whether you’re enhancing your service menu or crafting your signature look, mastering nail art sculpting gel opens doors to endless manicure possibilities. Start experimenting today and watch your nail art skills flourish.