
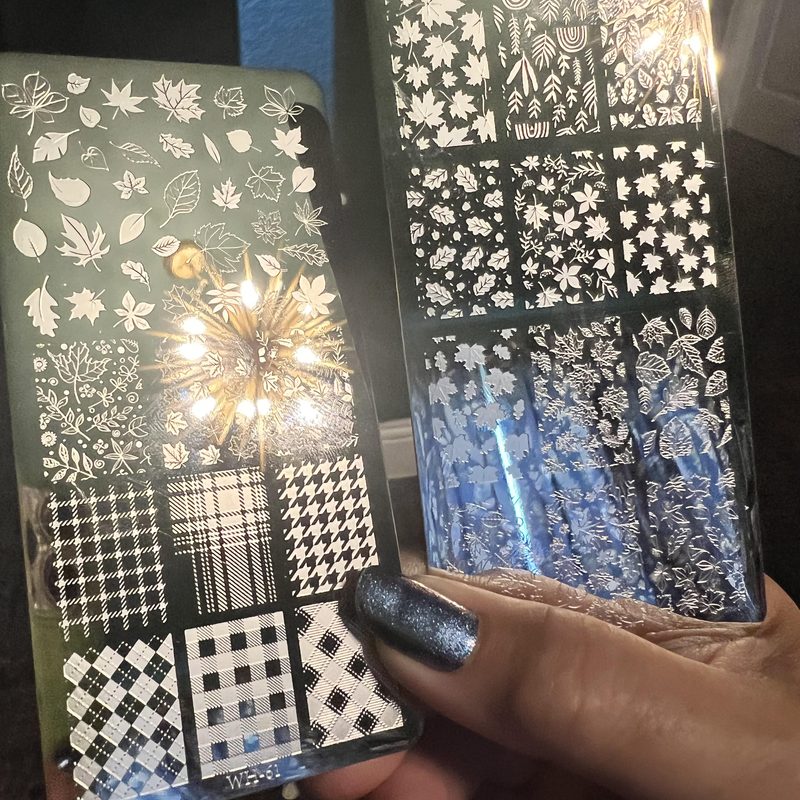
Trying to achieve salon-quality nails at home can be frustrating, especially when intricate designs seem out of reach. Nail art stamping plates offer a simple yet effective solution for anyone looking to elevate their manicure game without the steep learning curve. These plates allow you to transfer detailed patterns onto your nails easily, giving you professional-looking results in a fraction of the time. Whether you’re a beginner or a seasoned nail artist, understanding how to use nail art stamping plates will unlock a world of creative possibilities right at your fingertips.
In this article:
What Are Nail Art Stamping Plates and How Do They Work?
Nail art stamping plates are metal or plastic templates engraved with various designs, from florals to geometric patterns. To use them, you apply nail polish onto the plate, scrape off the excess, then press a silicone stamper onto the design to pick it up. Finally, you transfer the design onto your nail by rolling or pressing the stamper against your nail surface. This technique allows for precise, repeatable patterns that would take much longer to paint freehand.
The plates come in various sizes and complexity levels, catering to different skill sets and style preferences. What makes them especially appealing is that they can be reused multiple times, making them a cost-effective addition to any nail art kit. Additionally, stamping nail art can be combined with other techniques such as foil or brush work, adding layers of texture and dimension to your manicure.
Many artists appreciate how stamping speeds up the nail art process without sacrificing quality, especially in busy salon environments or for those eager to experiment with unique designs at home. For tips on complementing your stamping with other nail tools, check out our guide on nail tools for nail art.
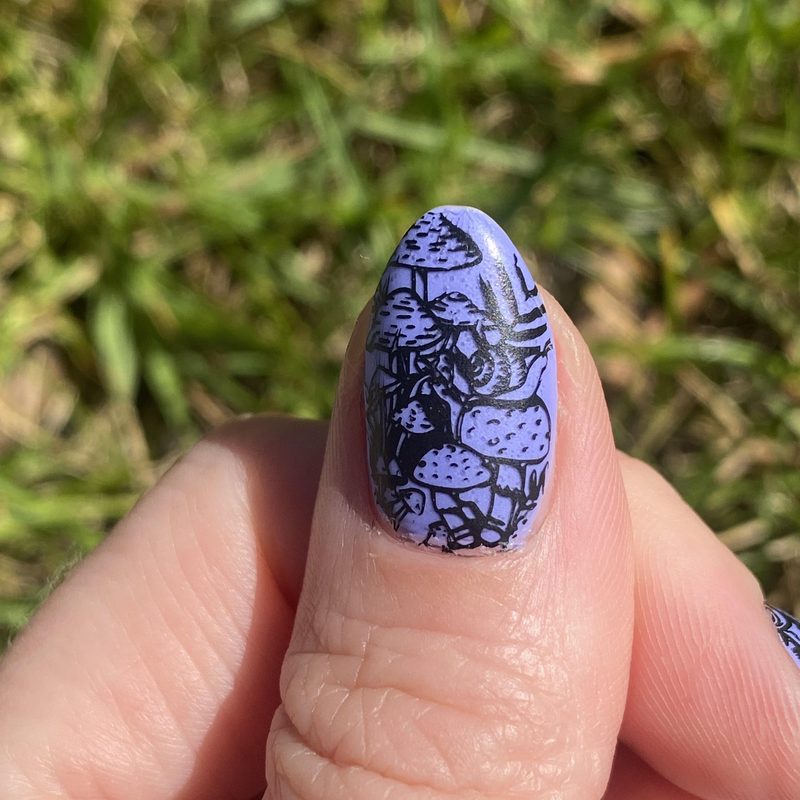
Choosing the Right Nail Art Stamping Plates for Your Style
With countless options available, selecting the right nail art stamping plates can feel overwhelming. Start by considering your preferred design aesthetic—do you lean toward delicate florals, bold abstract shapes, or seasonal motifs? Some plates specialize in intricate fine lines, while others offer larger, statement patterns suited for accent nails.
Another factor is the plate’s material and engraving depth. High-quality stainless steel plates tend to produce cleaner, more detailed transfers and last longer. Budget-friendly alternatives exist but may not deliver the same precision. Additionally, some plates come bundled in themed sets that can inspire creative combinations.
It’s also worth exploring plates that pair well with your existing tools or favorite polish types. For example, combining stamping with gel polish techniques can add durability and shine, as explained in our Gelish Nail Art Kit article. Ultimately, the best nail art stamping plates reflect your personal style and elevate your manicure routine with ease.
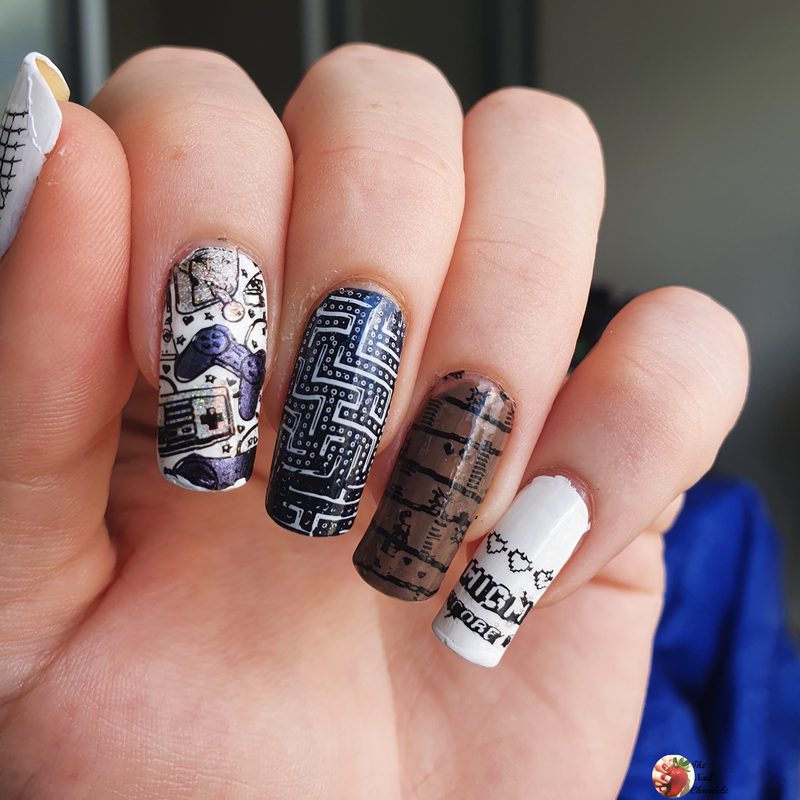
Mastering Nail Art Stamping Plates: Tips and Techniques
Perfecting nail art stamping plates requires practice and some insider know-how. Begin by selecting highly pigmented, fast-drying stamping polishes for the best coverage. Apply polish to the plate’s design generously and scrape in a single, firm motion to remove excess without wiping away the design itself.
Next, press the stamper evenly onto the plate to pick up the pattern. Make sure your nails are prepped with a smooth base coat and fully dried to avoid smudging. When transferring the design, roll the stamper gently across your nail to ensure full adhesion of the pattern.
Cleaning your tools promptly with acetone or special nail polish removers is crucial to maintain crisp designs for each use. Combining stamping with other methods, such as layering with a fan brush or foil elements, can create unique textures and depth for truly personalized manicures.
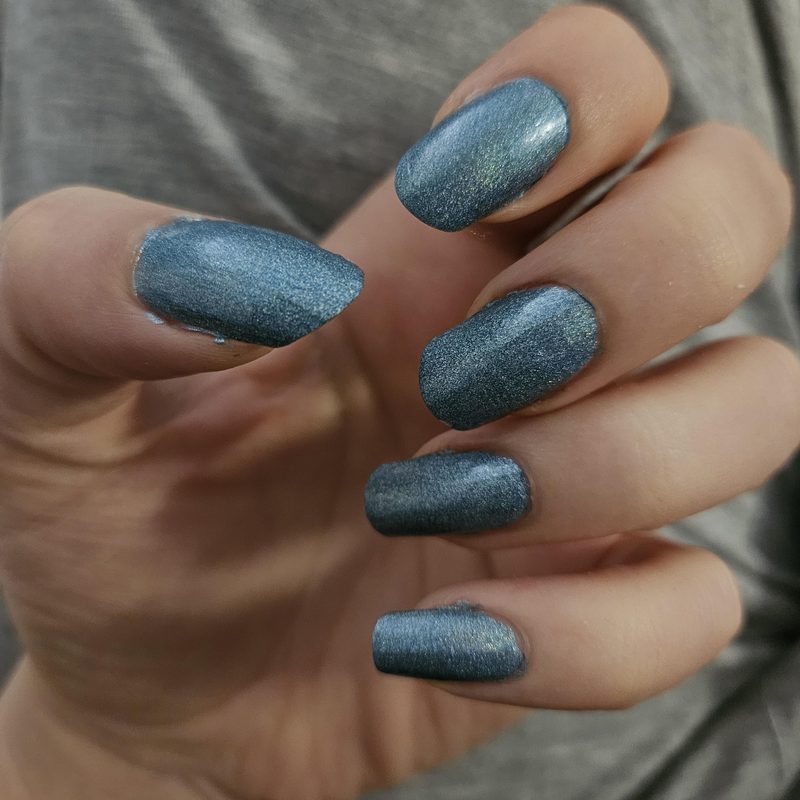
Caring for Your Nail Art Stamping Plates to Ensure Longevity
Proper maintenance of nail art stamping plates is essential to keep them functioning perfectly over time. After each use, clean the plates immediately with acetone or nail polish remover to prevent residue buildup that can obscure designs. Using a soft cotton pad or lint-free wipe helps avoid scratches that could damage the delicate engravings.
Store your plates flat in a cool, dry place to avoid warping or corrosion, especially if they’re made of metal. Some nail artists recommend applying a thin layer of clear polish on plates to guard against rust, particularly in humid climates. Avoid using abrasive materials or harsh chemicals that could degrade the surface.
With consistent care, your nail art stamping plates can remain a reliable tool in your kit for months or even years. For more advice on extending the life of your nail tools, visit our post on nail tools for nail art.
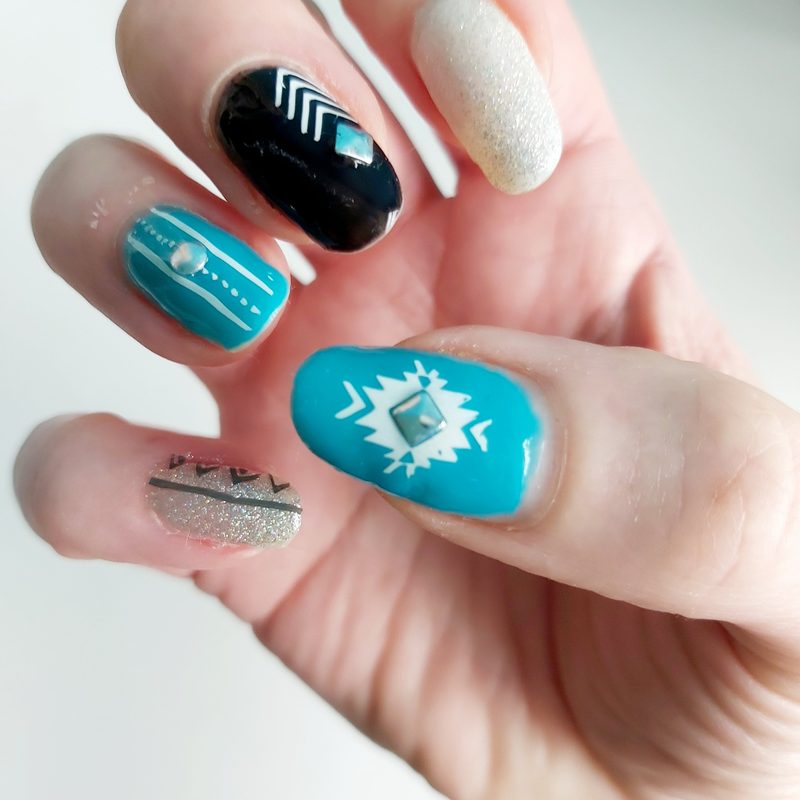
Incorporating Nail Art Stamping Plates into Salon and DIY Manicures
Nail art stamping plates have become a staple in both professional salons and at-home nail studios. For salons, they offer a quick way to provide clients with intricate patterns that would otherwise require lengthy hand-painting. This efficiency helps nail technicians serve more clients without compromising quality.
At home, stamping plates empower enthusiasts to experiment with designs they might avoid attempting freehand. Pairing stamping with gel polishes or nail gems can create salon-worthy manicures that impress friends and family. For inspiration on combining stamping with embellishments, explore our article on gems for nail art.
Whether you’re a professional or a DIY lover, mastering stamping techniques can expand your creative toolkit, making nail art more accessible and fun for everyone.
Frequently Asked Questions
What nail polish works best with nail art stamping plates?
Highly pigmented, quick-drying stamping polishes or regular nail polishes with thick formulas work best for nail art stamping plates. These provide clear, vibrant designs that transfer well from the plate to your nails. Some brands make polishes specifically for stamping, offering richer color payoff and easier application.
Can I use nail art stamping plates on gel nails?
Yes, nail art stamping plates work well on gel nails. To ensure the design adheres smoothly, apply the stamping after curing your base gel layer and seal the design with a top coat before the final cure. This combination offers durability and a glossy finish that lasts longer.
How do I clean my nail art stamping plates without damaging them?
Use acetone or nail polish remover with a soft cotton pad to gently clean your stamping plates after each use. Avoid abrasive materials or aggressive scrubbing to prevent scratching the engraved designs. Proper cleaning ensures crisp patterns for every manicure.
Are nail art stamping plates suitable for beginners?
Absolutely. Nail art stamping plates simplify creating intricate designs, making them perfect for beginners. With a little practice, anyone can achieve professional-looking manicures without advanced freehand skills, providing a fun way to explore nail art.
Incorporating nail art stamping plates into your nail routine opens up countless creative opportunities for both beginners and professionals. By mastering their use and choosing the right designs, you can easily elevate your manicure style with precision and flair. Start experimenting today to transform your nails with ease and confidence.