
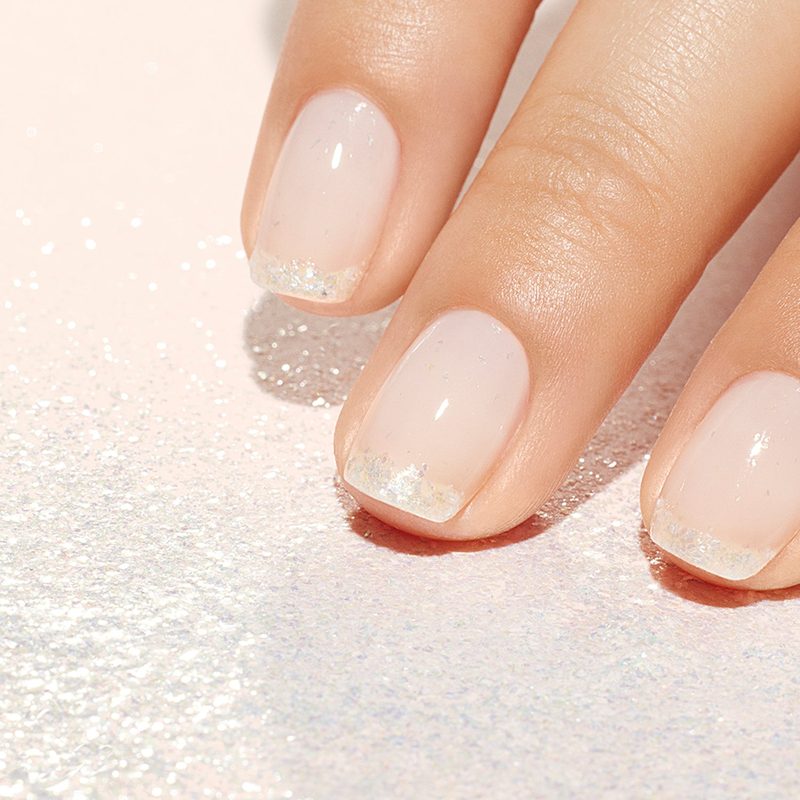
There’s something undeniably captivating about a manicure that catches the light just right, and nail art glitter flakes play a starring role in achieving that wow factor. Whether you’re preparing for a special event or simply want to elevate your everyday look, glitter flakes add a dazzling dimension to your nails that regular polish can’t match. However, mastering the art of applying nail art glitter flakes can be tricky without the right techniques and tools.
From selecting the perfect base to layering and sealing, this guide dives deep into everything you need to know to create stunning glitter nail designs that last. Let’s explore how nail art glitter flakes can take your manicure to the next level with professional results you can achieve at home or in a salon.
In this article:
What Makes Nail Art Glitter Flakes So Popular?
Nail art glitter flakes have surged in popularity thanks to their versatility and eye-catching appeal. Unlike traditional glitter polish, these flakes come in various shapes, sizes, and colors, allowing for personalized, multidimensional designs. Their reflective quality creates a unique shimmer that can transform any manicure from simple to spectacular.
Additionally, nail art glitter flakes pair beautifully with different polish types, including gel and acrylics, expanding creative possibilities in nail salons and DIY setups alike. This trend resonates particularly well with clients seeking to express individuality through their nail art, offering everything from subtle shimmer to bold sparkle.
Many enthusiasts appreciate how glitter flakes can elevate classic techniques, such as gradient fades or negative space designs. Moreover, these flakes require only a few steps for application, making them accessible even for beginners eager to explore glitter nail designs without committing to complex methods.
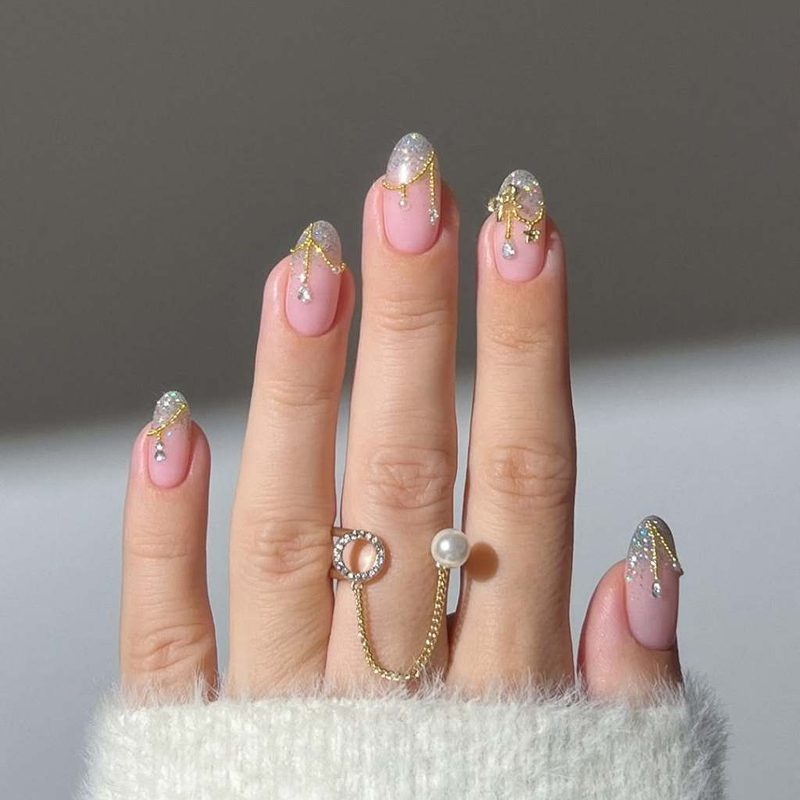
How to Apply Nail Art Glitter Flakes Like a Pro
Achieving flawless nail art glitter flakes starts with a clean, prepped nail surface. Begin by applying a base coat to protect your nails and provide a smooth foundation. Next, paint a layer of your chosen nail polish color, ideally one that complements the glitter flakes you’ll apply.
While the polish is still tacky, gently press the glitter flakes onto the nail using a brush or a nail art liner brush for precision. This method ensures the flakes adhere evenly without clumping. For better control and finer details, consider investing in quality nail art tools like a nail art liner brush Kolinsky.
Once you’ve placed the glitter flakes to your liking, seal the design with a top coat to lock in the sparkle and extend the manicure’s longevity. Multiple layers of top coat may be necessary to smooth out any textured areas caused by the flakes.
Creative Nail Art Glitter Flakes Ideas to Try
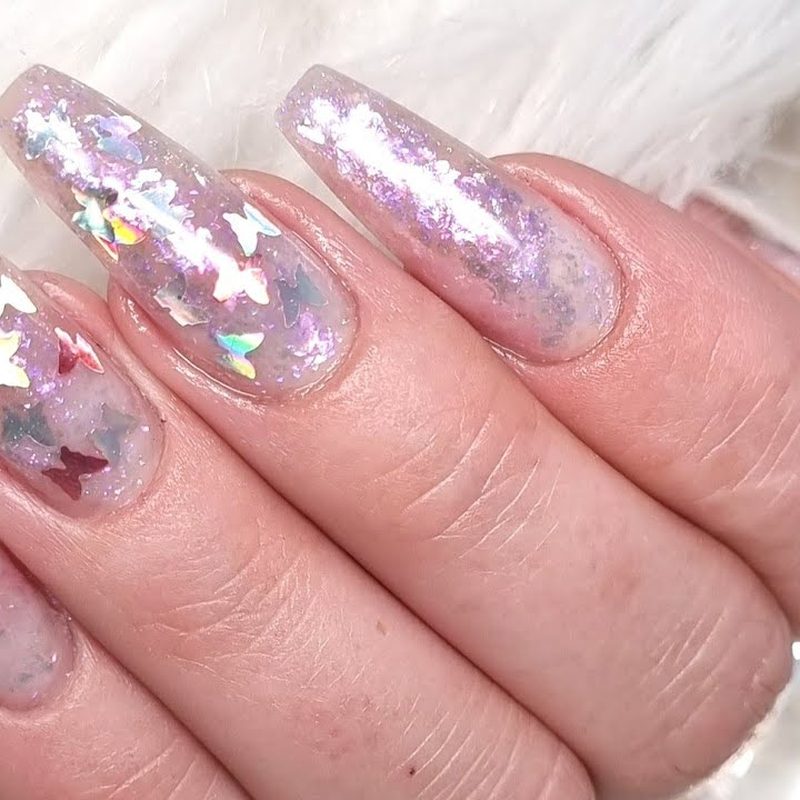
Glitter flakes open up countless creative avenues for both casual nail art lovers and professionals. One popular technique is layering flakes over gel polish nail art for a rich, glossy effect that enhances color depth and shine. This approach is especially striking when paired with dark or bold base colors, such as a deep black or royal blue.
Another trend involves mixing glitter flakes with other nail art accessories, like stickers or transfer foils, to create complex, multi-textured designs. Incorporating subtle negative space around glitter flakes can also provide a modern, minimalist contrast that keeps the nails chic and wearable.
For festive seasons or special occasions, glitter flakes can be incorporated into thematic nail art, like Halloween motifs or holiday-inspired patterns, by combining them with nail art stickers Halloween for a fun twist.
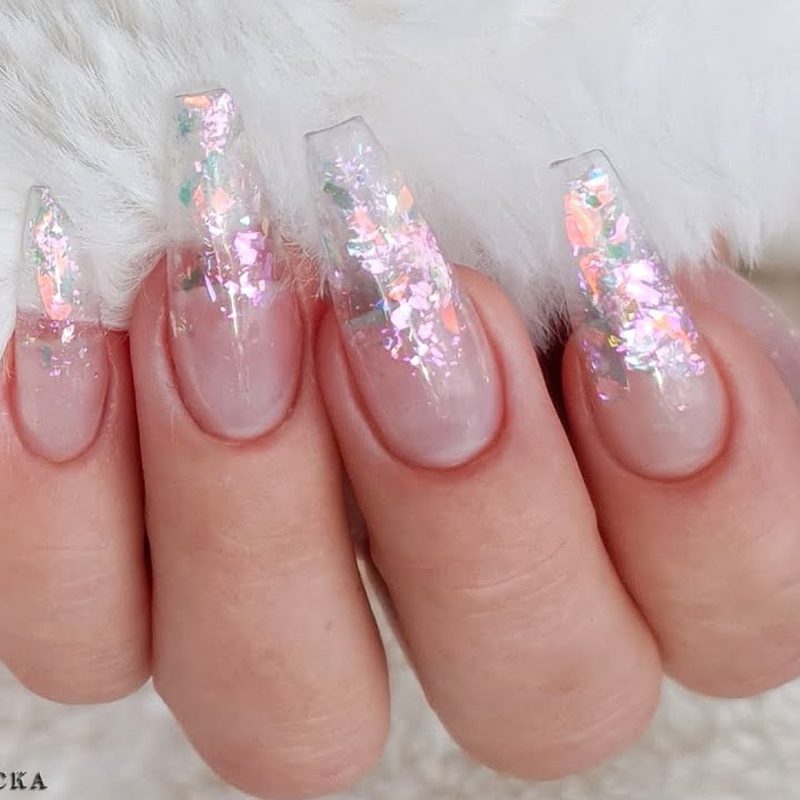
Choosing the Best Nail Art Tools for Glitter Flake Application
Having the right nail art tools can make a significant difference when working with glitter flakes. Precision brushes, such as liner or fan brushes, allow you to place glitter flakes exactly where you want them without mess. Tools like tweezers and silicone dotting tools also help in picking up and positioning individual flakes.
Investing in quality tools ensures a smoother, more controlled application process, which is especially helpful for intricate designs or layered effects over gel polish. For those interested in expanding their toolkit, exploring options like the nail art kits for adults can provide a complete set of essentials curated for various nail art styles.
Additionally, proper brush maintenance is crucial to keep your tools in top shape. Regular cleaning with dedicated brush cleaners prevents polish buildup, ensuring longevity and precision.
Maintaining Your Glitter Flake Manicure for Lasting Shine
After investing time in a stunning nail art glitter flakes manicure, maintaining it is key for lasting beauty. Start by avoiding activities that can chip or dull your polish, such as harsh cleaning without gloves or excessive water exposure. Applying a fresh top coat every few days refreshes the shine and seals the flakes securely.
For gel or acrylic nails, regular salon visits for touch-ups and infills will keep the glitter flakes looking flawless longer. If you prefer at-home care, gentle moisturizing of your cuticles and nails enhances overall nail health and helps prevent peeling around the decorated areas.
When it’s time to remove your glitter flakes manicure, patience is essential. Soaking nails in acetone with foil wraps softens the flakes for easy removal without damaging the nail surface. For more detailed care tips, consider reading our guide on mastering nail care.
Frequently Asked Questions
Can nail art glitter flakes be used with gel polish?
Yes, nail art glitter flakes work beautifully with gel polish. They can be applied over a tacky gel layer before curing or embedded within gel layers for a durable and vibrant finish. Using a top coat ensures the flakes stay sealed and the manicure lasts longer.
How do I prevent nail art glitter flakes from falling off?
To prevent flakes from falling off, apply them while your polish is still tacky, then seal thoroughly with one or more layers of a strong top coat. Using good quality adhesive gels or base coats can also improve adherence and longevity.
Are there different types of nail art glitter flakes?
Absolutely. Nail art glitter flakes come in a variety of shapes, sizes, and finishes, including holographic, iridescent, matte, and metallic. This variety allows for diverse looks ranging from subtle shimmer to bold sparkle effects.
Can I remove nail art glitter flakes at home safely?
Yes, you can remove nail art glitter flakes at home using acetone soak-off methods. Soak cotton balls in acetone, place them on your nails, and wrap with foil for about 10-15 minutes. This softens the flakes for easy removal without damaging your nails.
What nail art tools are best for applying glitter flakes?
Precision tools like nail art liner brushes, silicone dotting tools, and tweezers are best for applying glitter flakes. These allow controlled placement and help achieve detailed designs with minimal mess.
Nail art glitter flakes are a dazzling way to add sparkle and personality to your manicure, whether at home or in a salon setting. With the right techniques, tools, and care, you can create long-lasting, stunning nail designs that stand out effortlessly. Ready to elevate your nail game? Explore new glitter flake styles and embrace the shimmer today.