
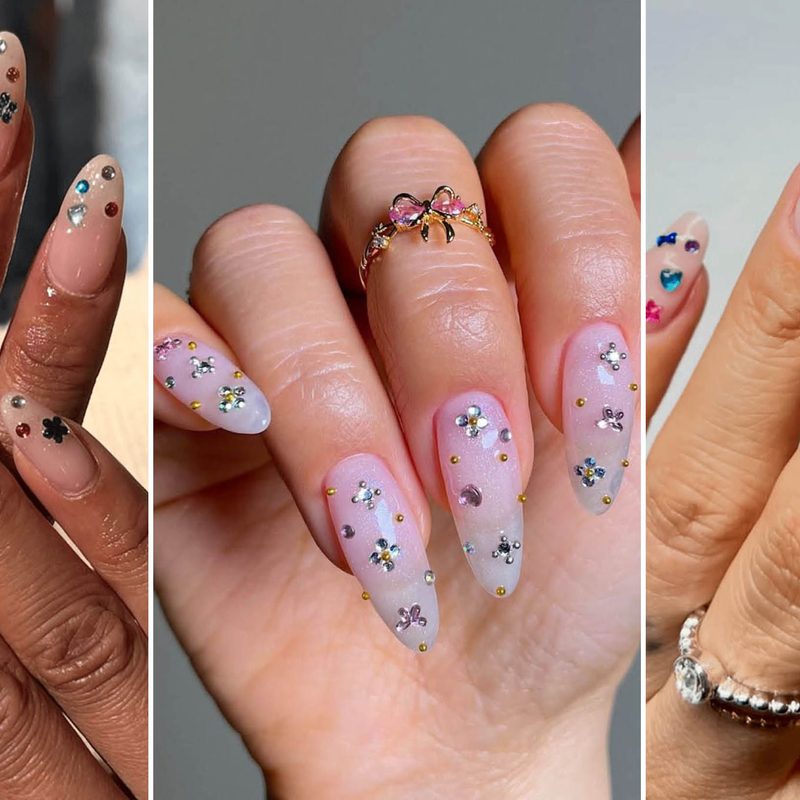
When your nails feel plain despite your best efforts, adding gems for nail art can be the perfect game-changer. Whether you’re prepping for a special occasion or craving an everyday pop of glamour, these tiny sparkling accents elevate even the simplest manicure. Gems for nail art have surged in popularity, giving nail enthusiasts and professionals alike a creative way to personalize looks with eye-catching detail.
However, many wonder how to choose the right gems and apply them effectively for lasting wear. From varied shapes to application techniques, mastering nail gems can take your salon designs to new heights. In this article, you’ll find expert advice on selecting, securing, and styling gems for nail art so your manicures shine brilliantly and stay flawless longer.
In this article:
Why Choose Gems for Nail Art?
Adding gems for nail art instantly transforms a manicure from ordinary to extraordinary. Their reflective sparkle catches the light, creating dynamic visuals that can complement any outfit or mood. Gems offer versatility, fitting into minimalistic designs or elaborate 3D nail art styles.
Salon professionals frequently recommend gems for clients seeking a touch of luxury without the commitment of bold color changes. Additionally, gems can be coordinated with other manicure elements such as foils or stamping to create cohesive looks. This flexibility makes gems a favorite for special events like weddings or proms, as well as everyday glam.
Moreover, gems for nail art cater to all skill levels—from DIY enthusiasts eager to experiment at home to nail artists crafting intricate salon-quality designs. Their accessibility and visual impact make them a top choice for elevating nail creativity.
Types of Gems for Nail Art and How to Choose
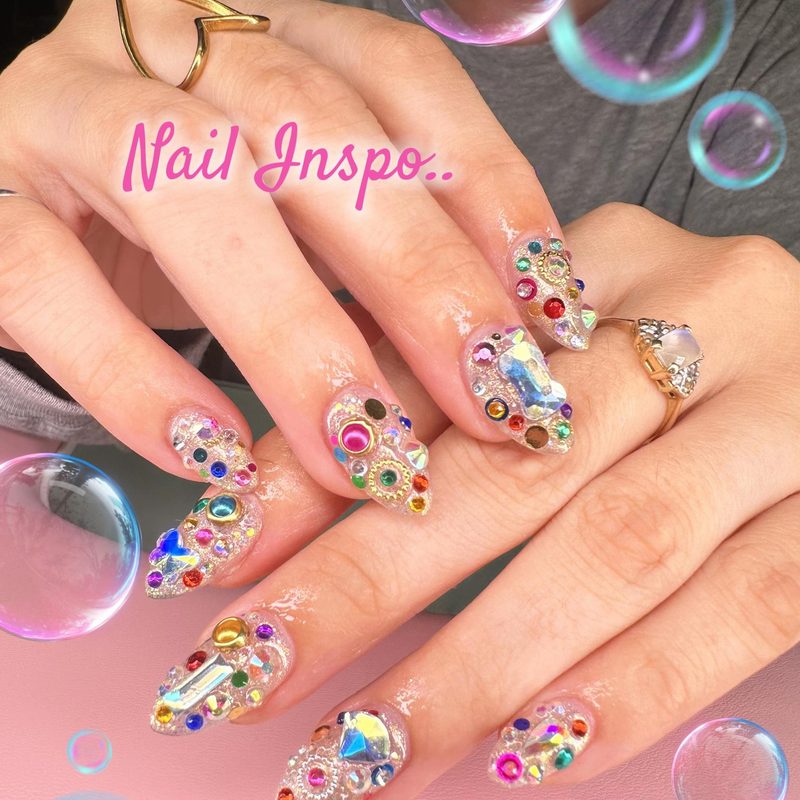
The market offers a dazzling array of gems for nail art, including rhinestones, crystals, pearls, and metallic studs. Different sizes and shapes—from tiny microbeads to large teardrops—allow customization based on desired effect. Choosing the right gem depends on the nail shape, length, and overall design concept.
For subtle elegance, opt for small clear crystals or pearls that add a refined shimmer. If you want to make a bolder statement, colorful rhinestones or geometric metallic studs help nails stand out dramatically. The choice between flat-backed or 3D gems also influences application ease and comfort.
Considering durability, high-quality crystals like Swarovski or glass rhinestones tend to maintain brilliance longer than plastic alternatives. Ultimately, understanding the occasion and your personal style will guide your selection of gems for nail art that complement your look perfectly.
Step-by-Step Guide to Applying Gems for Nail Art
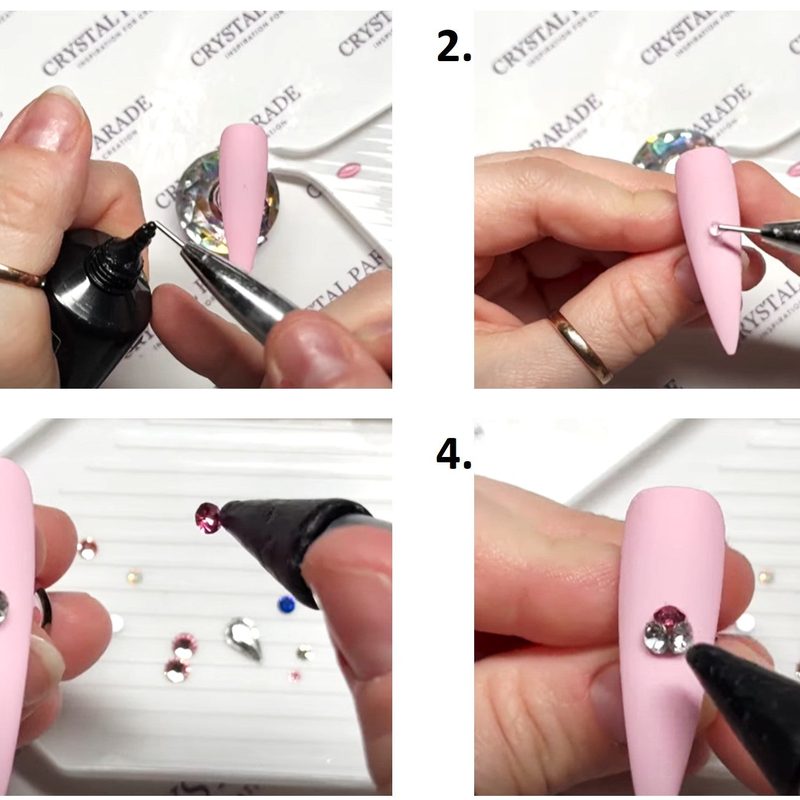
Applying gems for nail art requires attention to detail to ensure they stay securely in place and look polished. Begin by preparing your nails with your favorite base color or design. Next, select a quality nail adhesive or gel topcoat to anchor the gems firmly.
Using a fine tool or tweezers, pick up each gem and place it precisely where you want it on the nail surface. Press gently but firmly to secure it without shifting. Cure under a UV or LED light if using gel adhesive. Finish with a generous layer of topcoat around the gems to seal edges and extend wear.
For those interested in more advanced nail art techniques, combining gem application with foil glue nail art or stamping plates for nail art can result in show-stopping manicures.
Caring for Nails with Gems: Tips for Longevity
Nails adorned with gems require special care to maintain their stunning appearance. Avoid activities that put excessive strain on the nail surface, such as heavy cleaning or opening cans. Wearing gloves during chores preserves both the nails and gems.
Regularly reapply a clear topcoat every few days to reinforce the bond and add shine. This simple step can dramatically extend the life of your gem-enhanced manicure. If a gem falls off, keep a few spares on hand for quick touch-ups.
Visiting your nail salon regularly for professional maintenance is also a great way to ensure gems stay secure without damaging the nail bed. Learning these care tips guarantees your gems for nail art remain dazzling from day one through the end of your wear period.
Trending Nail Art Designs Featuring Gems for Nail Art
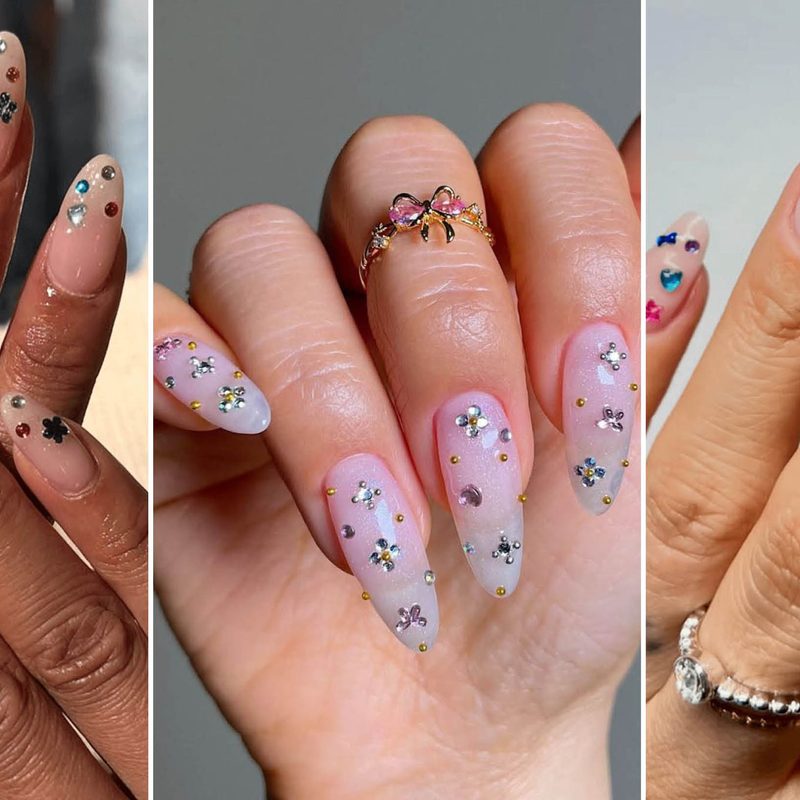
This year, trending nail art designs are embracing gems in innovative ways. From minimalist single-stone accents on nude bases to extravagant full-coverage crystal embellishments, the range is vast. Popular trends also include pairing gems with pastel gradients or metallic chrome finishes.
Salon artists are experimenting by integrating gems with techniques like airbrush effects, a topic explored in depth in the Kit Airbrush Nail Art guide, to add dimension and texture. Another rising style involves combining gems with blue and silver nail art designs, which you can explore in our dedicated Blue and Silver Nail Art Designs article.
These design trends highlight how gems for nail art not only create glamour but also serve as an expression of personal style and creativity in contemporary manicures.
Professional vs. DIY: Choosing Gems for Nail Art at Home or Salon
Deciding between professional application or DIY when using gems for nail art depends on your skill level and desired outcome. Professional nail salons offer expertise, precision tools, and access to premium products ensuring flawless results with long-lasting adhesion.
However, DIY enthusiasts can achieve impressive looks at home with the right supplies and technique. Investing in a fine nail art brush or tweezers, quality adhesives, and practicing placement can yield salon-quality manicures. Additionally, understanding the cost factors involved in salon gem applications can help plan your nail budget wisely, detailed further in Understanding the Cost of Nail Art: What to Expect.
Both routes offer unique advantages, but mastering gems for nail art ultimately comes down to patience, practice, and the joy of creative self-expression.
Frequently Asked Questions
How long do gems for nail art usually last?
With proper application and care, gems for nail art can last anywhere from one to three weeks. Using high-quality adhesive and sealing with topcoat improves durability. Avoiding rough activities and wearing gloves during chores also helps extend their wear.
Can I reuse gems for nail art after removal?
Reusing gems is possible if they are removed gently and cleaned properly. However, adhesive residue and damage may reduce their shine and adhesion. For best results, consider purchasing fresh gems for new manicures.
What is the best adhesive for applying gems for nail art?
Nail glue designed specifically for rhinestones or gel topcoats cured under LED/UV lamps are the most reliable adhesives. These provide strong bonds while protecting the natural nail from damage.
Are gems for nail art safe to use on natural nails?
Yes, gems are safe when applied correctly with appropriate adhesives. It’s important to remove them gently to avoid nail damage. Regular breaks between gem applications help maintain nail health.
Can I combine gems for nail art with other nail techniques?
Absolutely. Gems complement various nail art techniques such as stamping, foil application, and airbrushing. Combining methods can create unique, multidimensional designs that stand out.
Gems for nail art offer an accessible and striking way to elevate your manicure with shimmer and sophistication. Whether you prefer subtle accents or bold embellishments, mastering the selection, application, and care of nail gems can transform your nail game. Embrace these sparkling details to express your style confidently and enjoy salon-worthy nails every day. Ready to add that extra shine? Explore our expert guides and start crafting your perfect gem-studded manicure today.