
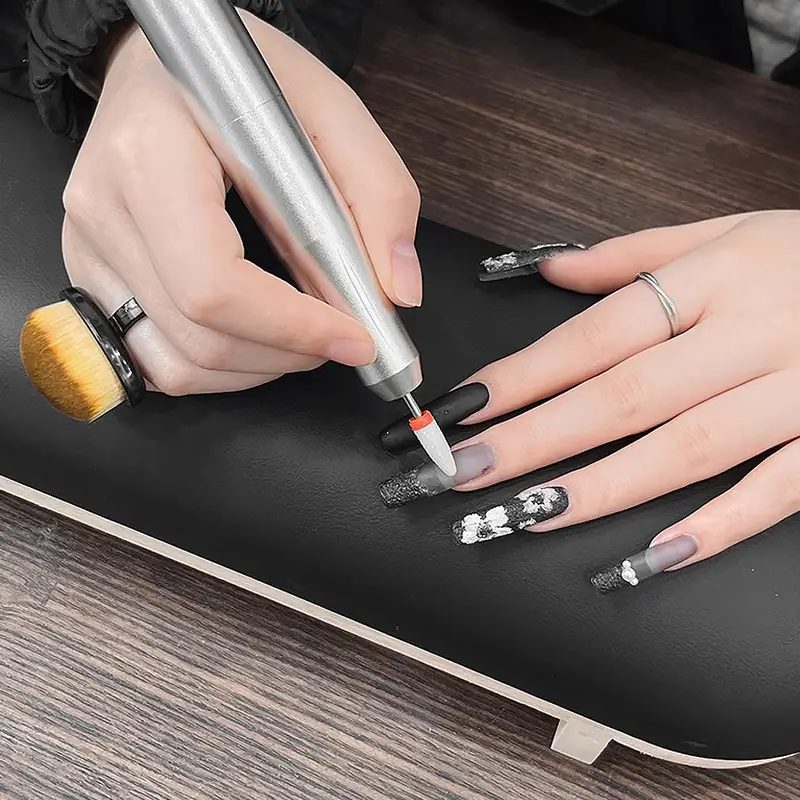
Picture this: You’ve just finished filing and shaping your nails, eager to apply the perfect design. But before picking up your brushes, have you remembered to brush the dust for nail art? It might sound like a minor detail, but skipping this crucial step can sabotage even the most artistic manicure. Brushing off nail dust ensures a clean canvas, allowing your polish or gel to adhere properly, resulting in longer-lasting and flawless nail art.
In this article, we’ll explore why it’s vital to brush the dust for nail art, how to do it correctly, and tips for maintaining your nail tools. Whether you’re a nail salon professional or a beauty enthusiast, mastering this simple technique can elevate your nail game instantly.
In this article:
Why You Must Always Brush the Dust for Nail Art
Nail dust is a byproduct of filing and shaping your nails, often overlooked but highly impactful on the final look of your manicure. When nail dust remains on the surface, it creates a barrier that prevents polish or gel from adhering evenly. This can lead to premature chipping, bubbling, or uneven texture in your nail art.
Additionally, dust left on the nails can cause irritation or discomfort during application, especially with certain products that require a clean base to activate properly. For nail artists, brushing dust is a professional standard that guarantees a smooth, flawless finish every time.
Ultimately, this simple step protects your investment in premium nail art designs and keeps your nails looking polished and salon-fresh longer.
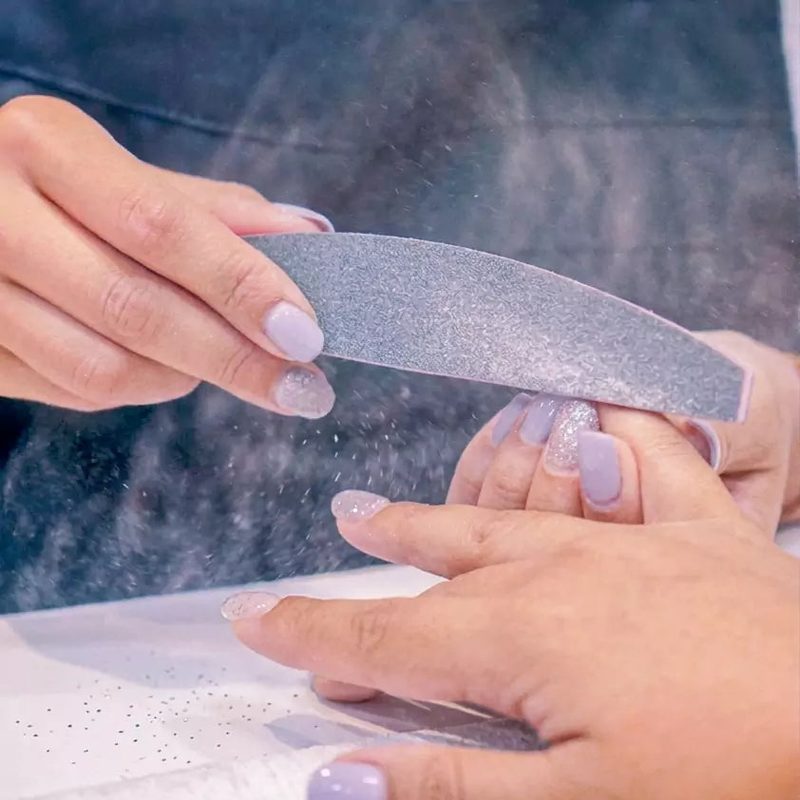
How to Properly Brush the Dust for Nail Art
Brushing the dust for nail art isn’t complicated, but doing it correctly makes all the difference. Start with a clean, dry brush specifically designed for dust removal—usually a soft, natural hair brush or a dedicated nail art dust brush.
Gently sweep the brush across the surface and around the cuticles to remove all filing residue. Avoid using compressed air or blowing on nails, as this can spread dust onto your skin or workspace, causing irritation or mess.
For an extra clean finish, follow brushing with a lint-free wipe soaked in a gentle nail cleanser or alcohol to remove any remaining fine particles. This creates an optimal surface for polish or gel nail art application.
Tools and Tips to Enhance Dust Removal
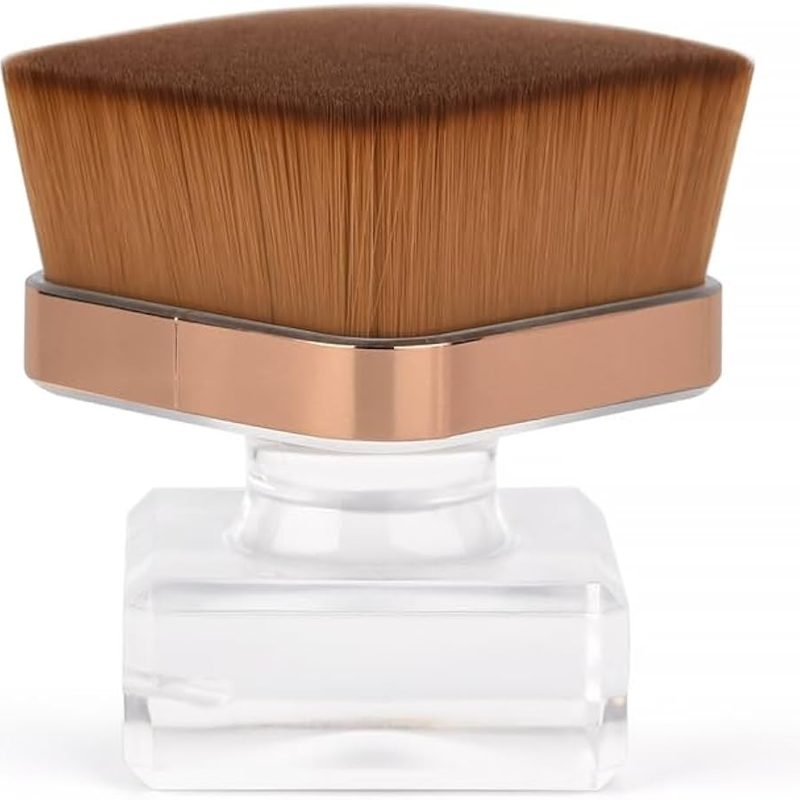
Investing in the right tools can streamline dust removal and improve nail art outcomes. Brushes with natural bristles are preferred for their softness and ability to trap dust without scratching nails. Some salons also use specialized nail vacuums to minimize airborne dust during filing.
Keeping your brushes clean is equally important. Regularly washing dust brushes with mild soap and water prevents clumping and ensures they perform effectively. Replace worn-out brushes promptly to maintain hygiene and precision.
Additionally, using a nail dust brush in combination with a quality nail cleanser can refine the surface further, enhancing polish adhesion and the longevity of your nail art.
How Brushing Dust for Nail Art Improves Design Precision
Removing dust effectively creates a perfectly smooth canvas, essential for crisp, detailed nail art designs. When dust remains, it can interfere with fine brushes and cause smudges, lines, or uneven polish application. This is especially critical for intricate designs such as those created with liner brushes or gel pen nail art tools.
Clean nails allow colors to pop and sparkle to shine, as seen in glitter designs or reflective finishes. For example, detailed seasonal nail art like the festive looks in Christmas Glitter Nail Art Designs become more vibrant and last longer with proper dust removal.
Ultimately, brushing the dust for nail art elevates the precision and visual impact of every stroke, giving professional-level results at home or in salons.
Common Mistakes to Avoid When Brushing Dust for Nail Art
Despite its simplicity, brushing the dust for nail art can be mishandled. A common error is using a brush that’s too stiff, which can scratch or irritate the nail bed and cuticles. Another is rushing the dust removal, leaving fine particles behind that compromise the polish’s grip.
Some also mistakenly skip this step altogether, underestimating its impact on polish longevity and finish quality. Using compressed air or blowing on nails is another mistake, as it spreads dust around rather than removing it.
To avoid these pitfalls, select a soft, clean brush, take your time, and finish with a gentle wipe to ensure your nails are impeccably prepared for the next step in your nail art journey.
Maintaining Clean Nails Beyond Dust Removal
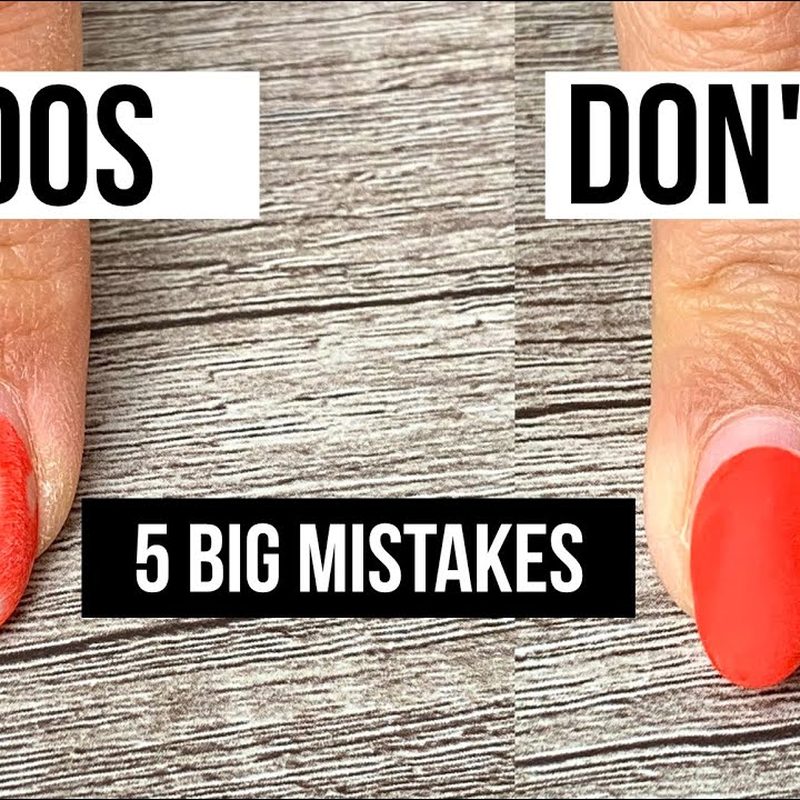
Brushing the dust for nail art is just the beginning. Maintaining clean nails involves proper preparation and aftercare to keep designs pristine. Regularly moisturizing cuticles and avoiding harsh chemicals protect nails from damage and dryness.
Using quality base coats and topcoats also seals your design and shields nails from dirt and debris. For those seeking inspiration or professional services, exploring top nail salons in Little Rock or customizing unique looks with custom nail art designs can enhance your manicure experience.
Ultimately, combining dust brushing with ongoing nail care ensures your nail art remains flawless and enviable day after day.
Frequently Asked Questions
Why is it important to brush the dust before applying nail polish?
Brushing the dust before applying nail polish removes fine filing particles that can prevent polish from adhering properly. This ensures a smooth, even application and helps your manicure last longer without chipping or bubbling.
What type of brush should I use to brush the dust for nail art?
A soft brush with natural bristles is ideal for brushing nail dust. It gently removes particles without damaging the nail surface or cuticles, offering an effective and comfortable cleaning experience.
Can I skip brushing dust if I use gel polish?
Skipping dust removal even with gel polish is not recommended. Dust particles can interfere with gel adherence and curing, leading to uneven finishes and shorter wear time. Always brush dust for the best results.
How often should I clean my nail dust brush?
Cleaning your nail dust brush after every few uses is important to prevent buildup and maintain its effectiveness. Wash it with mild soap and water, then let it air dry thoroughly before the next use.
Are there alternatives to brushing dust for nail art preparation?
While brushing is the most common method, some salons use nail vacuums during filing to reduce dust. However, brushing remains essential for removing residual particles and ensuring a perfectly clean nail surface.
Brushing the dust for nail art may seem small, but its impact on your manicure is profound. This essential step guarantees a clean, smooth surface that enhances polish adhesion, improves design precision, and prolongs your nail art’s life. Whether you’re creating intricate patterns or simple polish looks, don’t skip this crucial technique. Embrace the habit of brushing dust to elevate your nail art results and enjoy salon-quality manicures at home or in professional settings.
Ready to transform your nail routine? Grab a quality nail art brush and start brushing the dust for nail art today.