
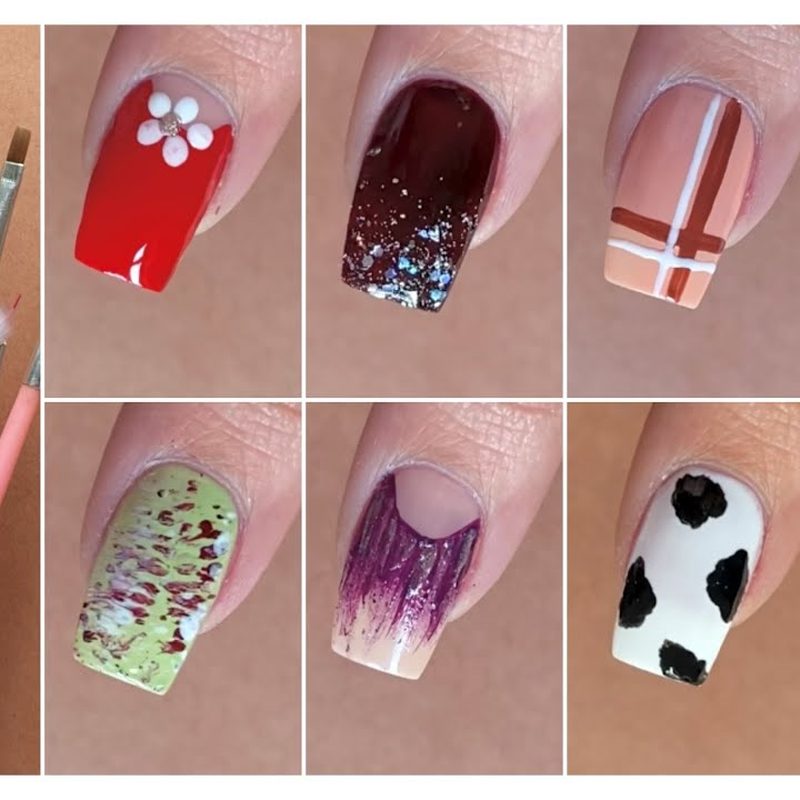
Have you ever struggled to recreate delicate, detailed designs on your nails? Nail art with thin brush offers the solution to achieving intricate and elegant manicures that stand out. Whether you’re a nail salon professional or a DIY enthusiast, mastering this technique opens up endless creative possibilities. This article explores how to harness the power of a thin brush to deliver precise, beautiful artwork that elevates your nail game with finesse and style.
In this article:
Choosing the Right Thin Brush for Nail Art
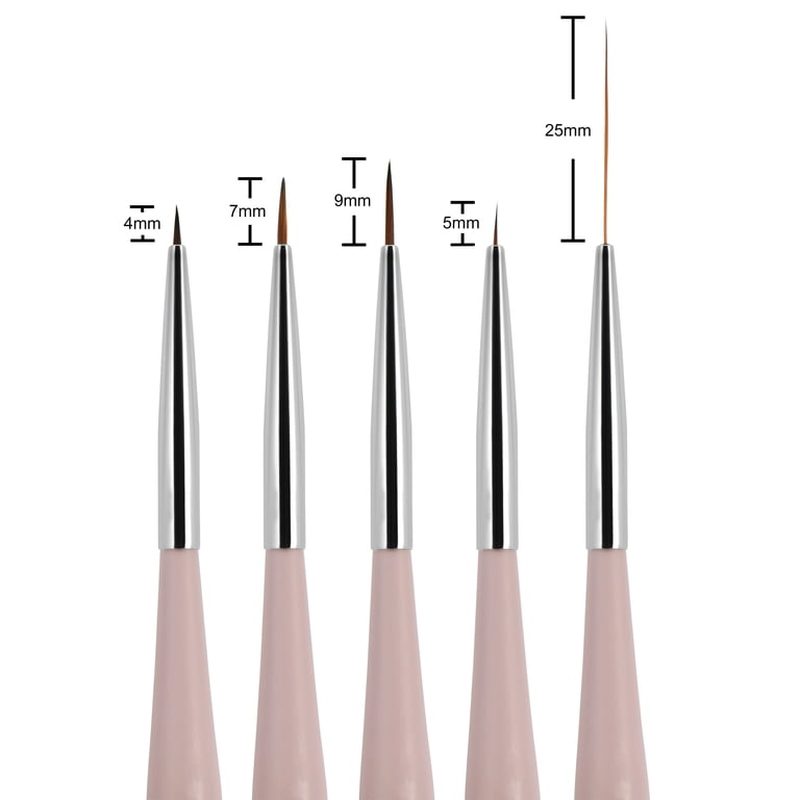
The foundation of successful nail art with a thin brush begins with selecting the right tool. Thin brushes come in various sizes and shapes, but the ideal nail art brush has fine, synthetic bristles that retain their shape and allow for smooth, controlled strokes. Ergonomic handles can improve grip and reduce hand fatigue during detailed work.
Beyond the brush itself, consider the quality of the paint or polish you use. A brush paired with high-pigment, smooth-consistency paint produces cleaner lines and better results. For those keen on precision, investing in professional nail art products can make a significant difference in the final look.
It’s also helpful to maintain your brushes properly. Clean them immediately after use to avoid dried paint buildup, which can cause bristle damage and affect performance. Tools like silicone nail art tools complement thin brushes by helping with touch-ups and fine detailing.
Techniques to Master Nail Art with Thin Brush
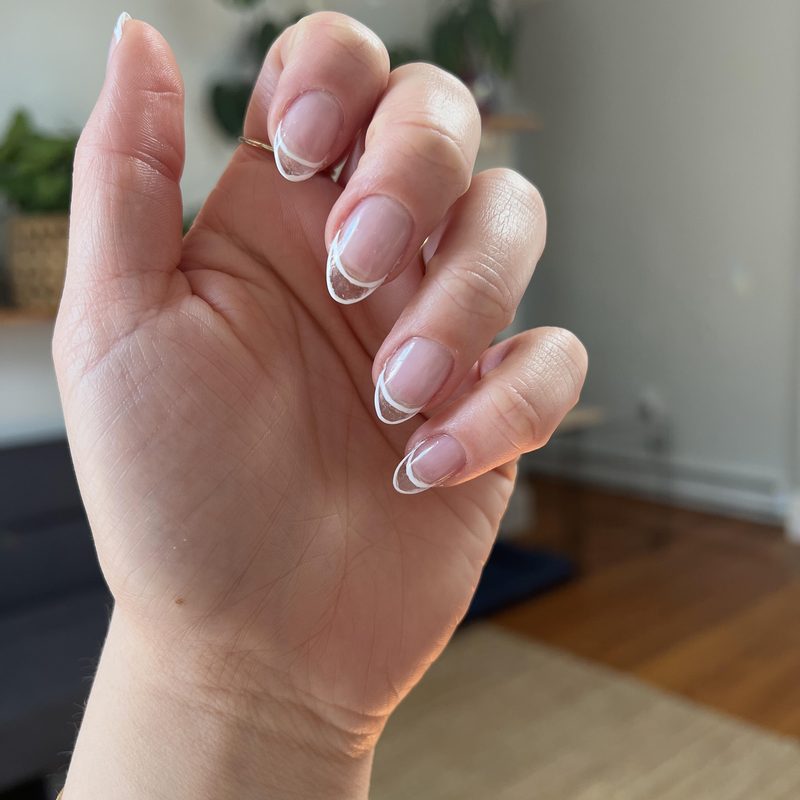
Mastering nail art with thin brush requires practice and understanding specific techniques. Start with basic strokes, such as lines and dots, before progressing to more complex shapes like florals, stripes, or geometric patterns. Steady hands and a light touch are key to avoiding smudges and uneven lines.
Using a magnifying mirror and resting your wrist on a stable surface can improve control and reduce shaking. Applying thin layers of paint rather than heavy coats allows for finer detail and quicker drying times.
Another technique involves layering colors and allowing each layer to dry completely before adding the next. This method enhances depth and color vibrancy without sacrificing precision. For inspiration and guidance, exploring tutorials or enrolling in a nail art online course can accelerate skill development.
Creative Ideas for Nail Art with Thin Brush
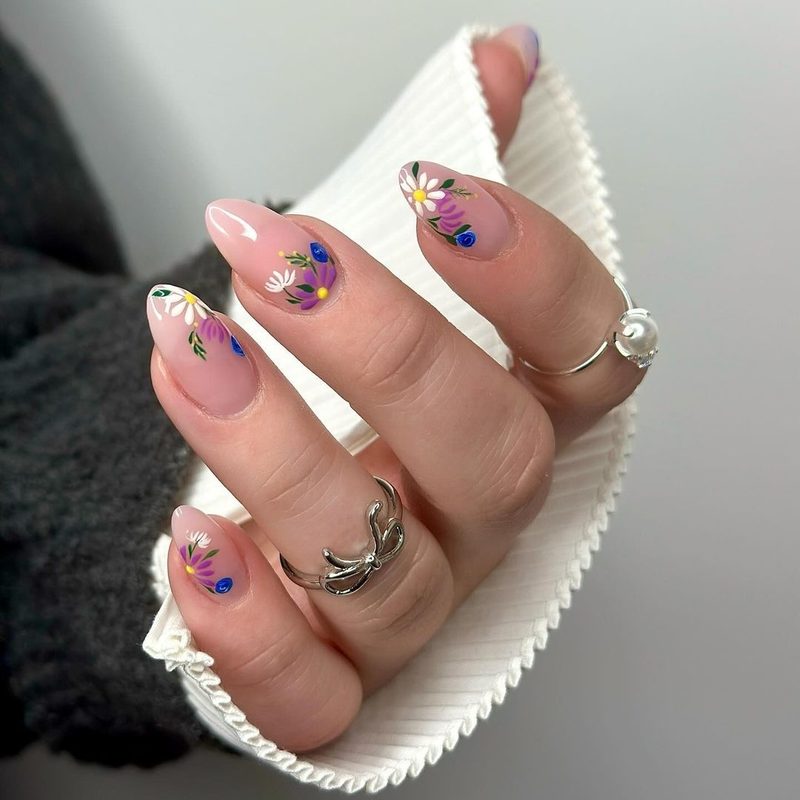
The versatility of nail art with thin brush allows for endless creative possibilities. Popular designs include delicate florals, minimalist stripes, abstract line art, and tiny graphic motifs. Each design benefits from the control and finesse that a thin brush provides.
Seasonal themes, such as autumn leaves, holiday ornaments, or spring blossoms, can be achieved with subtle strokes that bring nails to life without overwhelming the natural nail shape. For a fun twist, try combining thin brush art with other techniques like nail polish stamping for layered effects.
Experimenting with color gradients and metallic paints can add dimension to your thin brush creations, making each manicure a unique statement piece. Remember, patience and a steady hand transform simple patterns into breathtaking art.
Common Challenges and How to Overcome Them
While nail art with thin brush can be rewarding, beginners often face challenges such as shaky lines, uneven paint distribution, or smudging. One common issue is using too much paint on the brush, which can result in blotches instead of fine lines.
To combat this, wipe excess paint off the brush before applying and practice consistent pressure. Another solution is to work in well-lit areas to see details clearly and avoid mistakes caused by poor visibility.
If you encounter smudges, using a quick-dry topcoat can seal designs swiftly, minimizing the risk of damage. For ongoing improvement, refining your technique through trial and error and studying professional examples will build confidence and skill.
Essential Products and Tools to Enhance Nail Art with Thin Brush
Beyond the thin brush itself, having the right products and tools can elevate your nail art to professional levels. High-quality gel paints, fine detail liners, and durable topcoats ensure longevity and vibrancy. Using professional nail art products designed specifically for fine work guarantees smoother application and better adherence.
Additionally, complementary tools such as dotting tools, striping tapes, and silicone nail art tools help create clean edges and patterns that enhance thin brush work. Investing in a UV or LED lamp speeds up drying times, especially for gel-based paints.
Maintaining a clean workstation with good lighting and proper ventilation also contributes to better results and user comfort. Together, these essentials support creativity and precision in nail art with thin brush.
Frequently Asked Questions
What type of paint works best with a thin brush for nail art?
Thin brushes work best with high-pigment, smooth-consistency paints such as acrylics or gel paints formulated specifically for nails. These paints glide smoothly without clumping, allowing precise lines and details. Using professional products ensures better durability and ease of application.
How do I prevent smudging when doing nail art with a thin brush?
To prevent smudging, apply thin layers and allow each to dry completely before adding more details. Using a quick-dry topcoat after finishing your design helps seal and protect the artwork. Working in a well-lit, stable environment also minimizes accidental smears.
Can beginners learn nail art with thin brush easily at home?
Yes, beginners can learn nail art with thin brush at home with patience and practice. Starting with simple designs and following online tutorials or courses helps build confidence. Investing in quality brushes and paints also improves the learning experience.
How do I clean and maintain thin brushes used for nail art?
Clean thin brushes immediately after use with nail polish remover or brush cleaner to prevent paint buildup. Gently reshape the bristles and store them in a dry place. Proper maintenance extends the lifespan and performance of your brushes.
What are some creative designs to try with nail art using a thin brush?
Creative designs include delicate florals, fine line geometries, minimalist stripes, and seasonal motifs. Combining thin brush art with techniques like stamping or foil can create layered, unique manicures that stand out.
Mastering nail art with thin brush unlocks a world of precision and creativity that can elevate any manicure. Whether you’re enhancing your salon services or perfecting your home routine, employing the right tools and techniques makes all the difference. Embrace the art of detail and explore new designs—your nails are the perfect canvas. Start practicing today and transform your nail art into true masterpieces.