
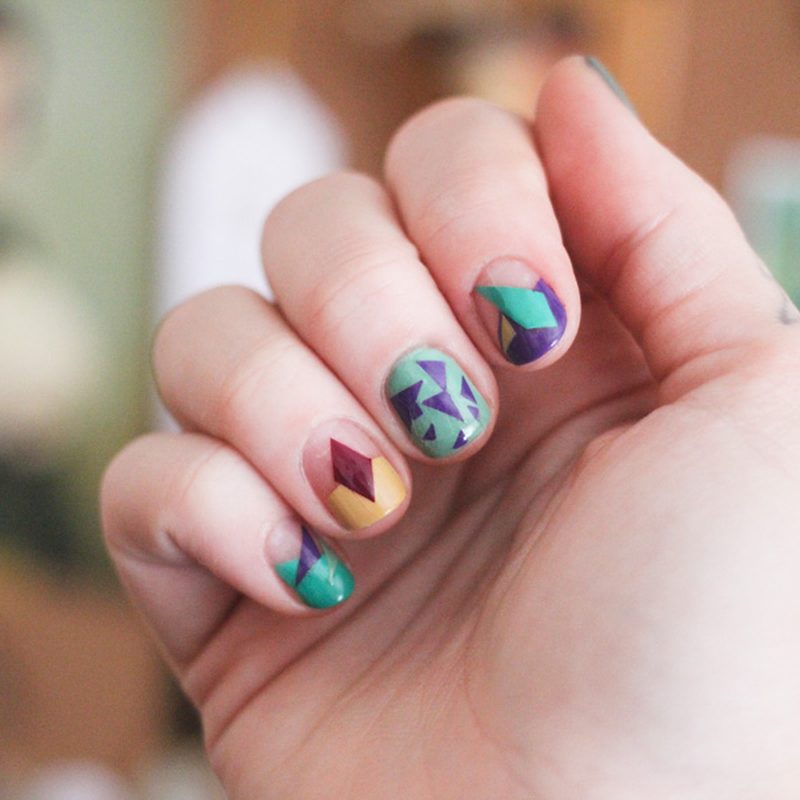
We’ve all experienced the frustration of wanting a salon-quality manicure but lacking the time or budget to get there. Nail art using scotch tape offers a surprisingly simple way to elevate your nails at home without the mess or steep learning curve of freehand painting. Whether you’re aiming for crisp stripes, geometric patterns, or layered colors, this technique unlocks endless possibilities with just one household item.
Beyond convenience, scotch tape nail art provides precision that’s hard to achieve with brushes alone. In this article, we’ll explore step-by-step methods, style ideas, and expert tips to help you master this clever DIY manicure trend and achieve flawless results every time.
In this article:
- Why Choose Nail Art Using Scotch Tape for Your DIY Manicure
- Step-by-Step Guide to Nail Art Using Scotch Tape
- Creative Design Ideas with Nail Art Using Scotch Tape
- Tips and Tricks for Perfect Nail Art Using Scotch Tape
- How to Incorporate Nail Art Using Scotch Tape Into Salon Services
- Maintaining and Removing Nail Art Created With Scotch Tape
Why Choose Nail Art Using Scotch Tape for Your DIY Manicure
Nail art using scotch tape stands out for its accessibility and versatility. Unlike complex brush techniques that require steady hands and specialized tools, scotch tape helps create perfect shapes and patterns quickly. This makes it ideal for beginners or anyone wanting to experiment with bold designs without professional training.
Additionally, the tape acts as a reliable stencil, enabling sharp lines and layered color effects that look polished and intentional. This approach reduces the risk of uneven lines or smudges common in freehand nail art methods.
As a bonus, scotch tape is affordable and widely available, making it a go-to option for budget-friendly manicures. It also pairs well with other supplies like nail art brushes and rhinestones, enhancing creativity further.

Step-by-Step Guide to Nail Art Using Scotch Tape
Starting your nail art using scotch tape begins with a clean, dry base coat. Apply your favorite base color and allow it to dry completely to ensure crisp tape edges. Next, cut small strips of scotch tape to fit your nail size and shape, then carefully place them to create your desired pattern.
After positioning the tape, paint over it with a contrasting polish color. Work quickly but carefully to avoid smudging. Once the top color is mostly dry, gently peel off the tape to reveal sharp, clean lines underneath.
Finish by applying a clear topcoat to seal your design and add shine. This step also helps the nail art last longer, preventing chipping and fading.
Creative Design Ideas with Nail Art Using Scotch Tape
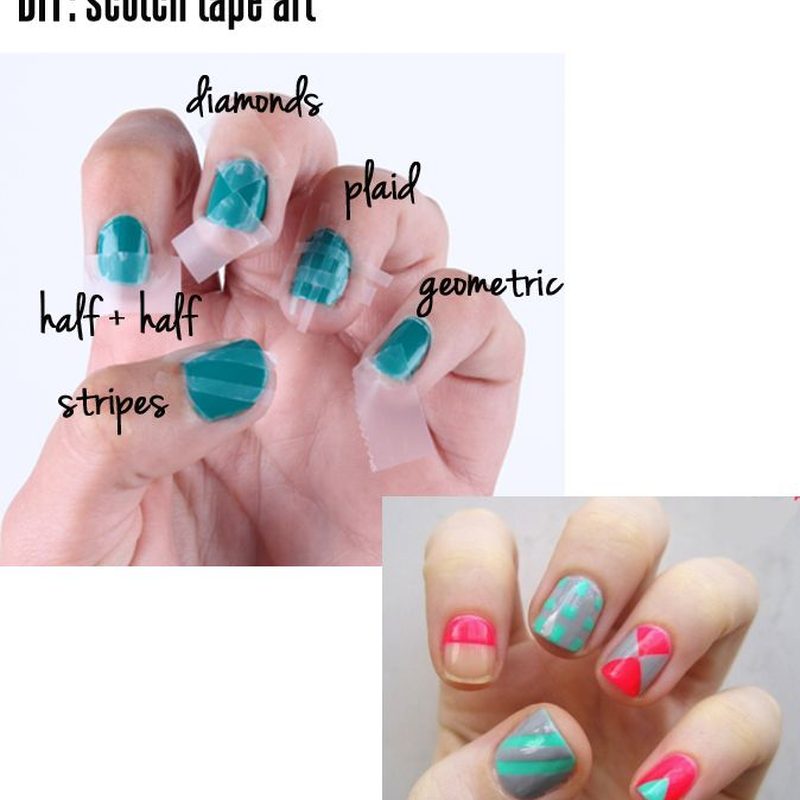
Once you master the basics of nail art using scotch tape, the design options are nearly limitless. Classic stripes are a popular choice, achieved by placing parallel tape lines across your nails. For a modern twist, try geometric patterns by creating triangles or chevrons with angled tape placements.
Layering different colors beneath tape strips can produce intricate color blocking effects that catch the eye. Alternatively, pairing scotch tape designs with other elements like rhinestones or glitter adds glam and dimension to your manicure.
For inspiration, check out styles ranging from subtle monochrome looks to bold, multicolored statements. Experimenting with negative space—the nail left exposed between tape strips—also creates a trendy, airy feel.

Tips and Tricks for Perfect Nail Art Using Scotch Tape
To achieve flawless nail art using scotch tape, choose tape that’s thin and easy to reposition. Regular office scotch tape works well, but specialized nail tape offers stronger adhesion and cleaner edges. Always press tape down firmly to avoid polish bleeding underneath.
Removing the tape while the polish is still slightly tacky prevents peeling or smudging. Use tweezers for precise tape removal without disturbing your fresh polish. Additionally, applying a quick-dry topcoat extends wear and enhances shine.
For those interested in refining skills further, exploring complementary tools like a nails art brush liner can help perfect detail work around tape patterns, elevating your manicures to salon quality.
How to Incorporate Nail Art Using Scotch Tape Into Salon Services
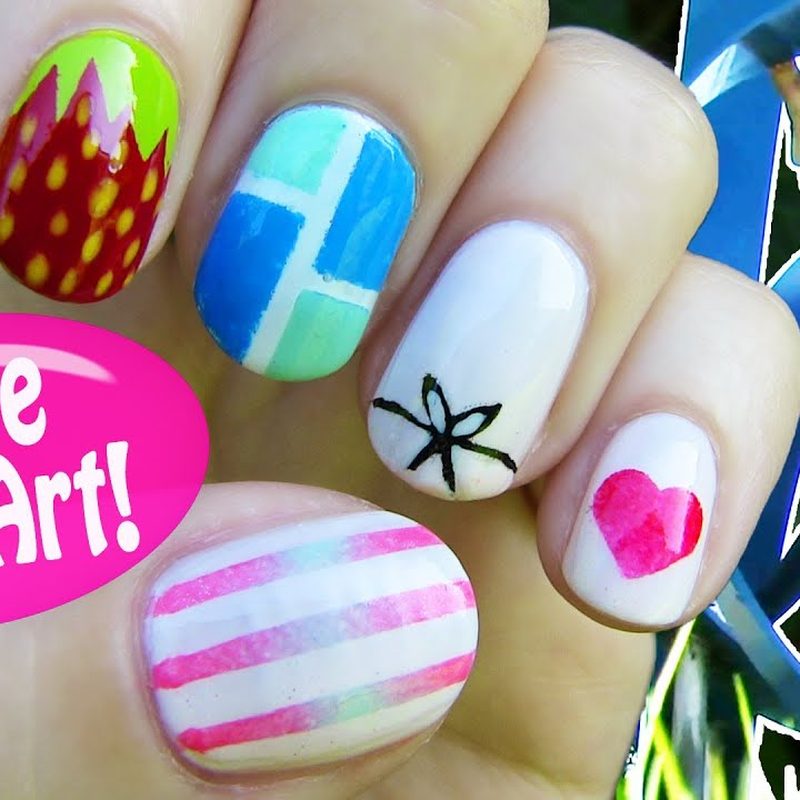
Many nail salons now offer nail art using scotch tape as a trendy, affordable add-on service. This technique allows nail technicians to craft intricate designs rapidly, appealing to clients looking for stylish options without long appointment times.
Incorporating scotch tape designs into salon menus can expand creative offerings and attract a younger, DIY-savvy clientele. Pairing these designs with seasonal colors or popular motifs like astrology-inspired manis enhances appeal, much like the popular Pisces nail art ideas.
Salons can also upsell by combining tape designs with embellishments such as rhinestones or 3D supplies, elevating the final look while maximizing revenue.
Maintaining and Removing Nail Art Created With Scotch Tape
Proper care helps your nail art using scotch tape last longer and look fresh. Avoid activities that cause chipping, and apply a topcoat every few days to protect the design. Wearing gloves while doing housework also prevents premature wear.
When it’s time to remove, soak nails in an acetone-based remover for a few minutes. Gently wipe off polish without scraping to avoid damaging your nails. Regular moisturizing after removal keeps nails healthy and prepared for your next creative manicure.
Pairing tape techniques with gel polish requires a specific removal process; exploring a nail art course near me can provide hands-on knowledge for professionals or enthusiasts interested in mastering these techniques safely.
Frequently Asked Questions
Is scotch tape safe to use on nails for nail art?
Yes, scotch tape is generally safe for nail art as long as it’s removed gently and not left on too long. Use standard household tape or specialized nail tape designed for skin contact to avoid irritation. Always test on a small area if concerned about allergies.
Can I reuse scotch tape strips for multiple nails?
It’s best not to reuse scotch tape strips because they lose adhesive strength and may cause smudging or uneven lines. For best results, use fresh pieces for each nail to maintain clean, precise designs.
What types of nail polish work best with scotch tape nail art?
Quick-drying, opaque nail polishes provide the best results with scotch tape techniques. Gel polishes also work well but require curing with a UV lamp. Avoid sheer formulas that may not show contrast clearly when layering colors.
How do I remove nail art using scotch tape without damaging my nails?
To safely remove nail art, soak your nails in an acetone-based polish remover until the polish softens, then gently wipe it away. Avoid peeling or scraping to prevent nail damage. Moisturize nails after removal to keep them healthy.
Can I combine scotch tape nail art with other decorations like rhinestones?
Absolutely! Combining scotch tape nail art with rhinestones or glitter adds texture and sparkle. Secure embellishments with a strong topcoat or nail glue for long-lasting wear. Explore more on incorporating rhinestones in your manicure here.
Nail art using scotch tape is an accessible and creative way to achieve salon-worthy manicures at home or in a professional setting. With just a little practice and the right techniques, you can craft stunning designs that impress and last. Try incorporating this versatile method into your nail routine today, and transform your manicure with ease and style.