
It’s frustrating when a stunning manicure lacks that extra pop of glam. Rhinestone for nail art offers the perfect solution, instantly elevating any nail design with dazzling sparkle and dimension. Whether you’re prepping for a special occasion or just want to add some flair to your everyday look, rhinestones bring a sophisticated shine that’s hard to beat. This guide will walk you through everything you need to know about incorporating rhinestones into your nail art, from selecting the right stones to mastering application techniques that last. Get ready to transform your nails from basic to breathtaking.
In this article:
Why Choose Rhinestone for Nail Art to Elevate Your Manicure?
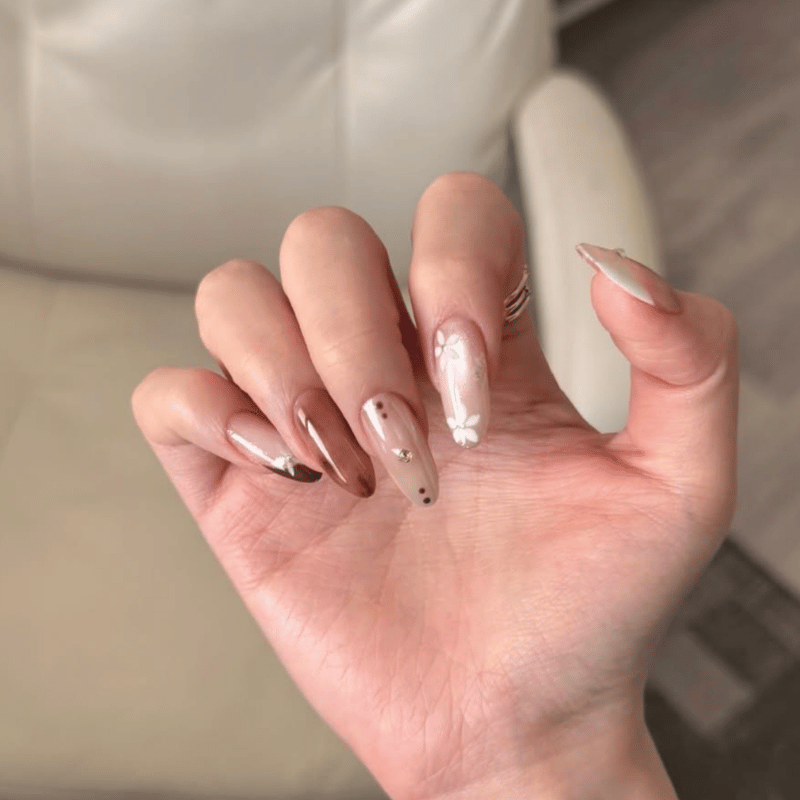
Rhinestones add an eye-catching element that standard polish alone can’t achieve. Their reflective qualities create a sparkling effect that catches the light, making your nails the center of attention. For those who enjoy experimenting with nail art, rhinestones provide endless creativity—from minimalist accents to elaborate patterns.
Unlike nail stickers or decals that can sometimes feel flat, rhinestones give a three-dimensional texture. This makes your manicure feel more luxurious and unique. Additionally, rhinestones come in a variety of shapes, sizes, and colors, allowing for personalized nail design options that suit any style.
Using rhinestone for nail art is also a great way to extend the life of your manicure. When applied with the right adhesive techniques, rhinestones can stay securely in place for days, maintaining your salon-quality look without constant touch-ups.
How to Select the Perfect Rhinestones for Your Nail Design
Choosing the right rhinestones is essential to achieving the look you desire. Consider the size first—smaller rhinestones offer subtle shimmer, while larger ones create bold accents. Mixing sizes can add depth and interest to your manicure.
Color is another vital factor. Clear stones provide classic sparkle, but colored rhinestones can complement or contrast your polish for unique effects. Metallic or holographic rhinestones introduce an ultra-modern vibe. Think about your outfit, occasion, and personal style when making your selection.
Quality also matters. Opt for high-quality crystals or glass rhinestones rather than cheaper plastic ones to ensure better shine and durability. Brands specializing in nail embellishments typically offer a wider range of reliable options, perfect for both amateur and professional nail artists.
Step-by-Step Application Tips for Rhinestone Nail Art
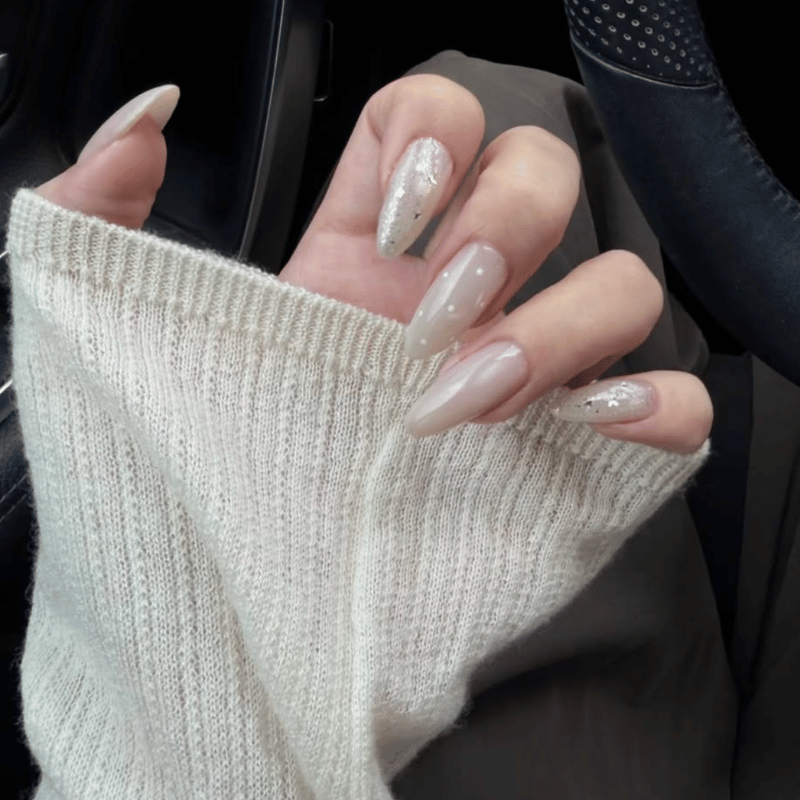
Applying rhinestones properly ensures your nail art stays flawless longer. Start with a clean, dry nail base—gel polish works best for adhesion. Use a dotting tool or a toothpick to pick up rhinestones precisely and place them onto the nail where you want the embellishment.
Apply a strong nail adhesive or a gel top coat underneath the rhinestones for a secure hold. Press gently but firmly to set each stone in place. Once arranged, cure your nails under a UV or LED lamp if you’re using gel products. Finish by sealing the design with a clear top coat around the rhinestones to lock everything in.
Patience is key. Allow adequate drying or curing time to prevent stones from shifting or falling off. With practice, this technique becomes faster and easier, letting you experiment with creative patterns and textures.
Caring for Rhinestone Nail Art to Maximize Longevity
Maintaining your rhinestone nail art is crucial for lasting impact. Avoid heavy hand activities that might jar or loosen the stones. Wearing gloves when doing dishes or cleaning protects your manicure from harsh chemicals and water exposure.
Moisturize your cuticles and hands regularly to keep nails healthy, but steer clear of oils around the rhinestones as they can weaken adhesive bonds. If any stones do become loose, a quick touch-up with nail glue can save the look without a full redo.
To refresh your rhinestone design, consider pairing it with complementary techniques like silicone nail art molds or stripe tape nail art for a cohesive, salon-worthy finish.
Creative Rhinestone Nail Art Ideas to Try Today
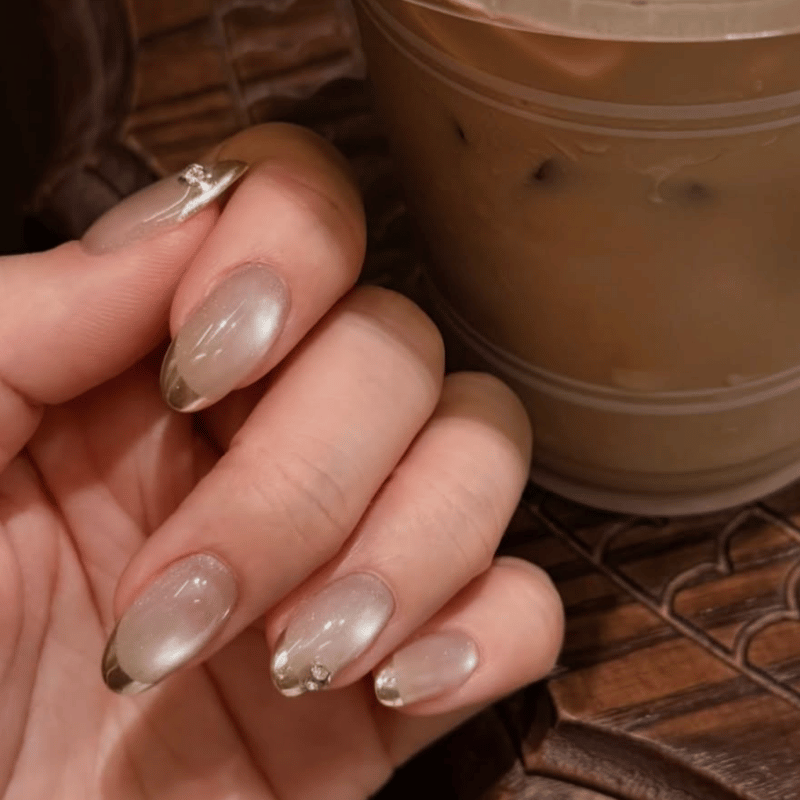
Rhinestones can be combined with a variety of nail art styles to create standout looks. For instance, pairing them with delicate stripes or geometric shapes creates a modern, chic effect. Using them as focal points on an otherwise neutral manicure adds just the right amount of sparkle.
Seasonal themes also work beautifully with rhinestones—think icy blues and silvers for winter or bright metallics for summer festivals. You can experiment with layered rhinestone arrangements or mix them with 3D stickers and airbrush designs for unique textures.
For inspiration, explore techniques like using a thin nail art brush to paint around rhinestones or integrating them with 3d stickers nail art for extra dimension. The possibilities are truly endless when rhinestones are involved.
Frequently Asked Questions
How long do rhinestones last on nails?
With proper application and care, rhinestones can last up to one to two weeks on your nails. Using gel polish and curing under UV or LED lamps helps secure them firmly. Avoiding harsh activities and moisturizing your hands regularly extends their longevity.
Can I remove rhinestones at home safely?
Yes, you can safely remove rhinestones at home by soaking your nails in warm acetone or using a nail glue remover. Gently lift the stones with a cuticle pusher or an orange stick, then nourish your nails with a strengthening treatment afterward.
Are rhinestones safe for natural nails?
Rhinestones are safe for natural nails when applied and removed properly. Using gentle adhesives and avoiding excessive force during removal helps prevent nail damage. It’s best to give your nails a break between rhinestone applications to maintain health.
What tools do I need to apply rhinestone for nail art?
Essential tools include a dotting tool or tweezers for precise placement, high-quality nail glue or gel top coat for adhesion, and a UV/LED lamp if you use gel products. A thin nail art brush can help with detail work around the rhinestones.
Can rhinestones be combined with other nail art techniques?
Absolutely. Rhinestones pair beautifully with techniques like silicone nail art molds, stripe tape nail art, and thin nail art brush designs. Combining these methods creates intricate and personalized manicures.
Incorporating rhinestone for nail art into your manicure routine instantly elevates your nail game with glamour and creativity. Whether you prefer subtle sparkle or bold designs, rhinestones offer versatile options that suit every style. Embrace these shining accents and explore new combinations to keep your nails dazzling. Ready to add that perfect touch of sparkle? Start experimenting with rhinestone nail art today and transform your manicure into a true work of art.